
1/6th Dragon Sherman – Transmission Upgrade
Price range: $50.00 through $225.00
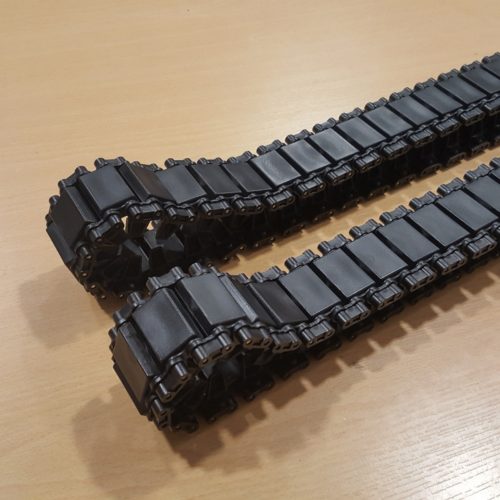
RC conversion parts for the 1/6th scale Dragon Sherman Check out the assembly video below:
***Color of the large hull bracket will vary depending on what I have on hand
Description
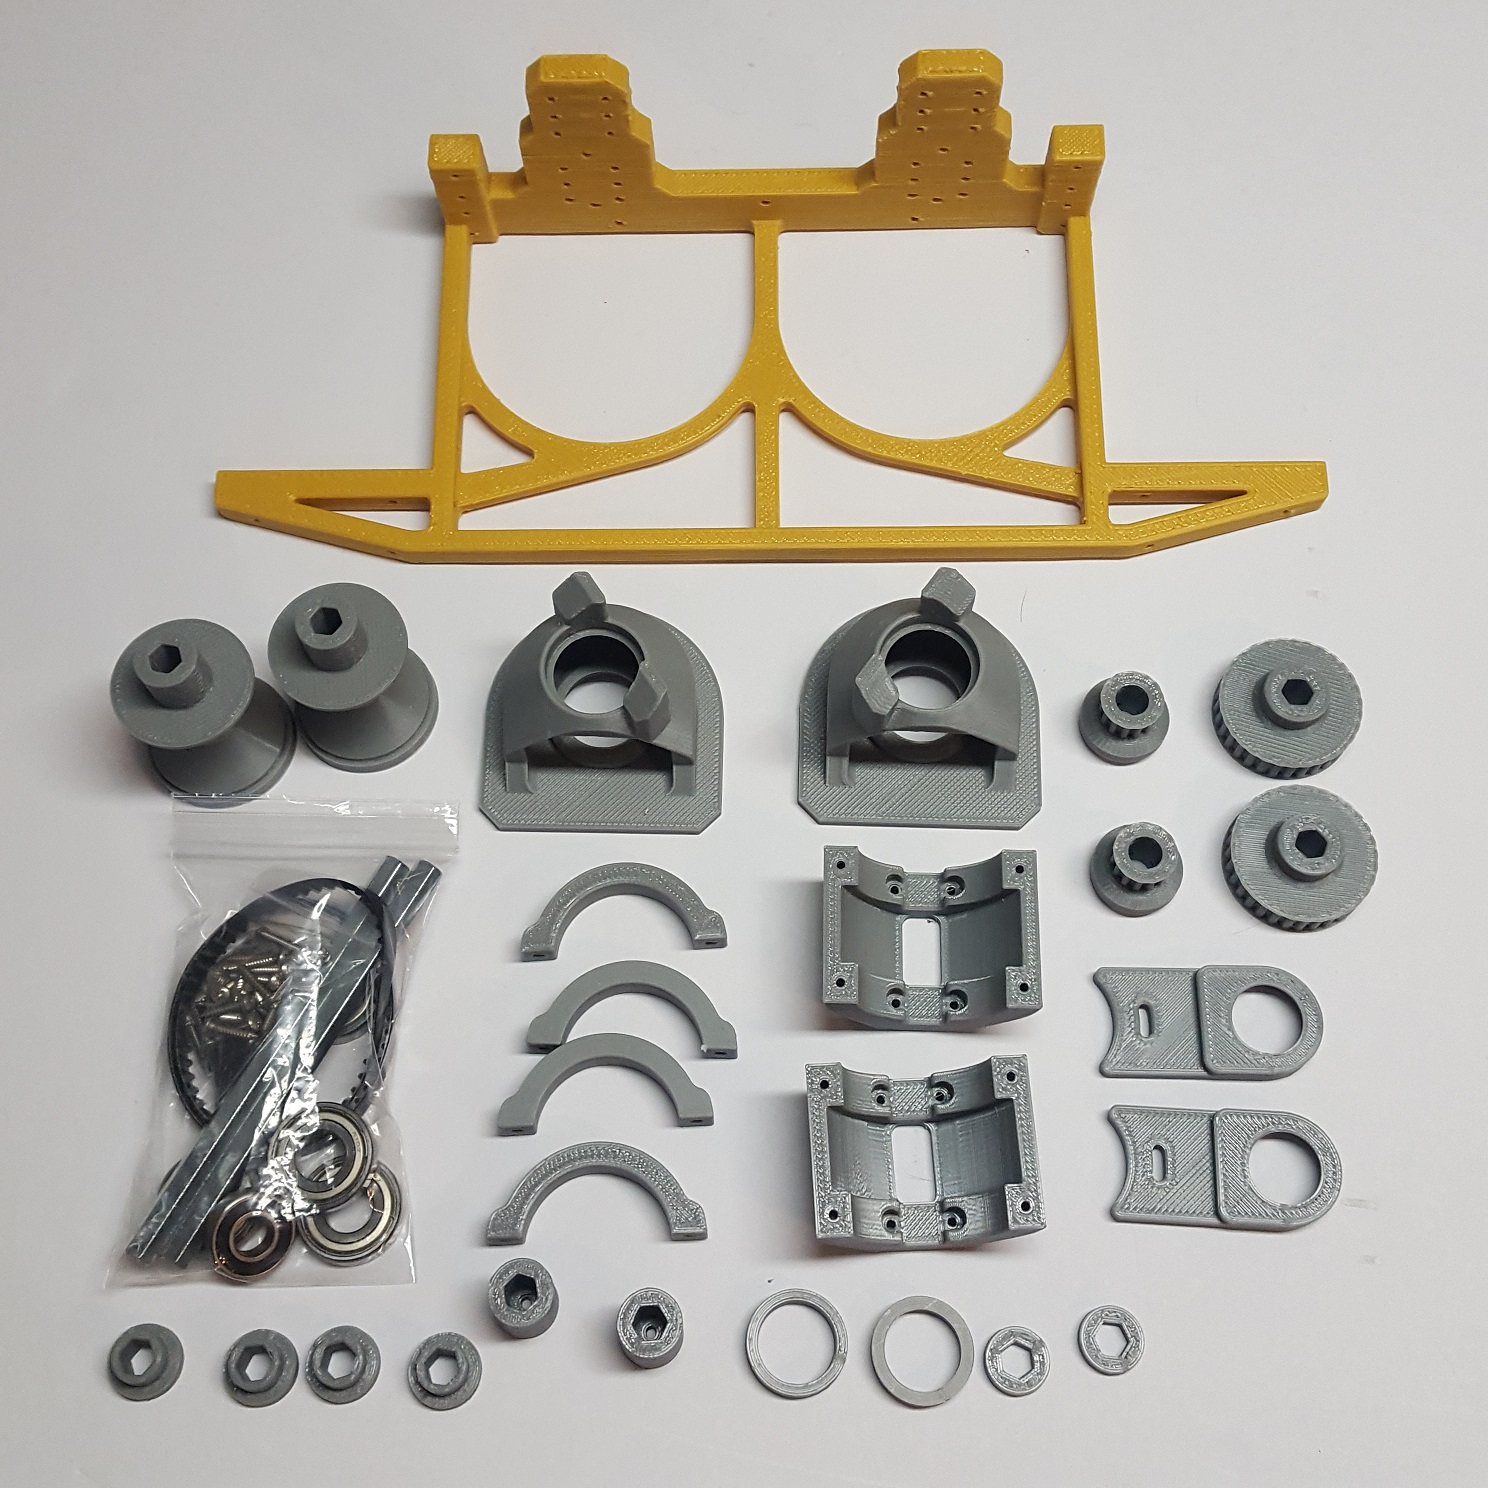
FEATURES
- Hex shafts provide a simple and very strong final drive
- Smooth belt gear reduction
- Clamp design makes them fully adjustable
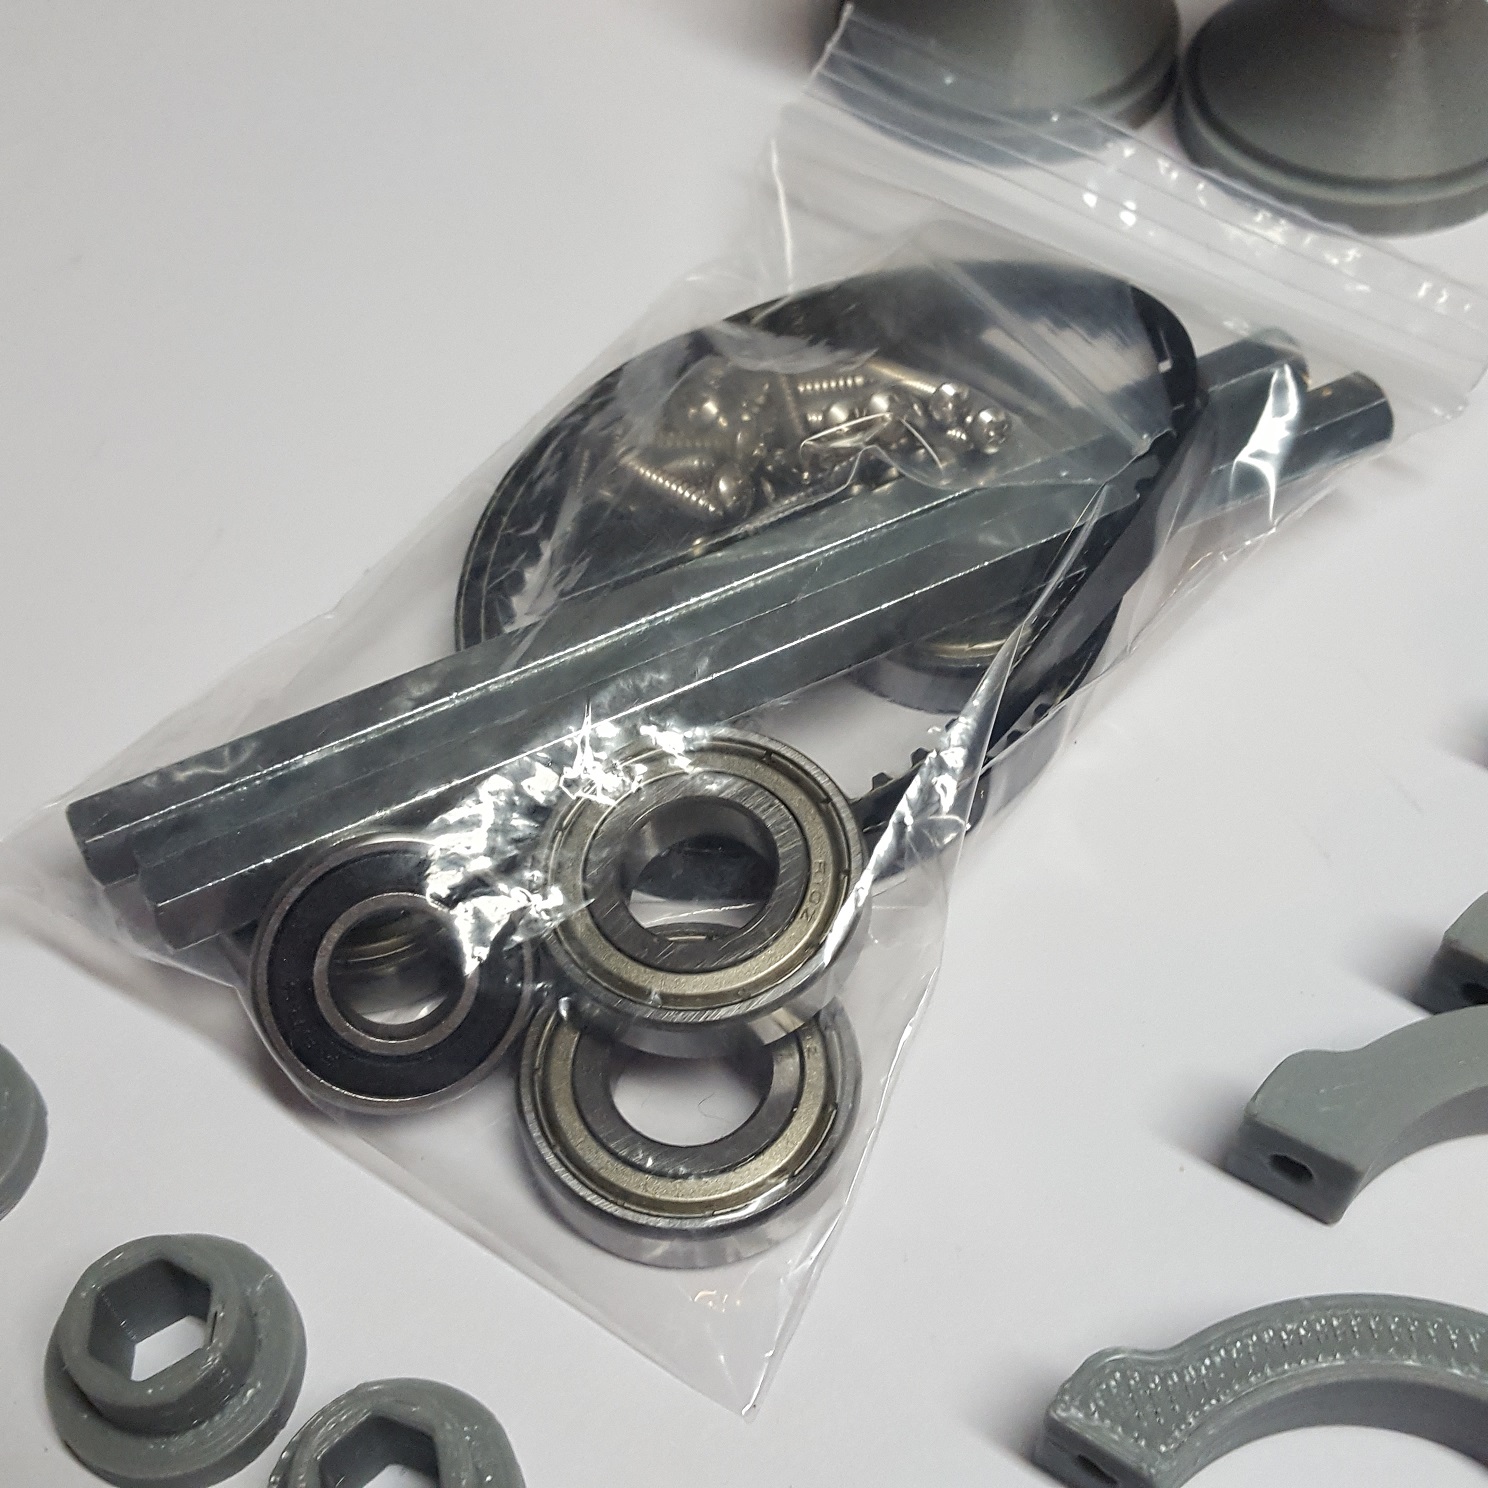
INCLUDES
- 3D Printed parts
- Giant printed hull bracket/motor mount
- Hardware, belts bearings etc.
- ***You can buy the motors from me but it adds shipping time, I only order motors after orders are placed with me, also can add international shipping costs from weight.
REQUIRES
- These mounts only work with these specific motors here: https://www.skycraftsurplus.com/gearheadwormdrivemotor.aspx
- Assembly
Additional information
| Weight | 4 lbs |
|---|---|
| Dimensions | 20 × 10 × 8 in |
| Motors? (Adds shipping delays) | Add Motors, No Motors |
| Pulley Set | Fast (1.5:1), Slow (2.25:1) |
| Type | Full KIT, Hardware Only |
4 reviews for 1/6th Dragon Sherman – Transmission Upgrade
Only logged in customers who have purchased this product may leave a review.
Related Products
-
1/6th M5 Stuart – Sprockets
$80.00 Add to cart -
1/6th M5 Stuart – Return Wheels
$50.00 Add to cart -
1/6th M5 Stuart – Delrin Tracks
Price range: $425.00 through $475.00 Select options This product has multiple variants. The options may be chosen on the product page
ThomasJW (verified owner) –
I ordered the transmission upgrade along with the idler mod and received it within a few days. I did not order the motors through Ryan but got them separately from the site he provided.
The transmission mod goes together easily and is a deceptively simple and straight-forward bit of engineering.
I ordered the slower ratio pulley which is quite large and just fits inside the bearing housing. Beautiful! Lightly file the flats on the belt pulley and it slides easily onto the hex shaft.
The kit came with four identical small spacers, two of which I did not use. You have the option, as explained in Ryans video, of placing the spacers on the inside of the hull or on the outside of the hull to provide more clearance for the sprocket. I tried it both ways but chose to mount it on the inside. Mounted on the outside, the spacers made the front look out of scale and sighting down the bogies you could tell the sprocket was shifted off-centered a bit. My only concern with mounting it the way I did is there is not a whole lot of clearance between the sprocket and transmission bell housing. Depending on how Ryans treads fit around the sprocket will determine whether-or-not I need to add a smaller “half-spacer” on the outside as well.
Take care threading the hex shaft end screws as they can easily be stripped. Finger-tighten until it bottoms out and then use the wrench to finish it.
Mating the stock parts together must be a universal problem with this Dragon kit as the lower bow still had fit issues with the hull even though the sidewalls were glued flush with the outside edge. It still needed some prodding and gap filling epoxy.
Not having a chop saw handy, it took about 20 minutes to cut through the motor shafts with a hacksaw. Be sure to leave enough shaft for the belt pulley and the bearing it slides into.
I attached the motors using the middle set of mounting holes. The update that Ryan made to the trans kit pretty much establishes how much tension you place on the belt. Depending on the pulley ratio you order, you may have to mount the motors using a different set of holes.
One thing to note is you will have to cut the shroud off the motors to expose the terminals since the printed top straps that go over the motors interferes with the stock connector.
Finally, I got a cheap thrill by temporarily connecting the battery to each motor to spin the sprockets! Smooth and quiet operation.
Another winner from Ryan.
Up next, the idler.
RC_BobM (verified owner) –
This is a very nicely designed upgrade. The front drive with belts is very smooth and assembles easily in the Dragon front transmission cover. I bought the motors from the recommended site (1 left, 1 right) and soldered RC disconnect plugs to the motor terminal leads. The fit of the bearings in the housing is great for 3D printed parts. Overall highly recommend!
Glen Senkowski (verified owner) –
VERY Simple and straightforward. I did make a few changes for scale appearance and ease of maintenance. All of my subsystems are bolted to the tank parts using stainless steel hex head bolts and lock nuts instead of glue. I have this aversion to button head and sheet metal screws. The drive covers are bolted on with four 5-40 hex heads on each side replacing four of the plastic bolts. When painted, it is nearly impossible to tell which bolts are actually holding on the covers. Underneath the covers, I used countersunk brass wood screws to attach the bearing housings from the outside. This allows you to remove and replace all the bearings and components. The drive sprockets are attached with 1/2″ 6-32 countersunk screws installed slightly below the level of the sprocket faces. The screws are then hidden with painted tape disks in case I need to get at the screws.
Glen Senkowski (verified owner) –
I just finished the motor and drive installation and the motors are surprisingly quiet. I hooked them direct to a 12V 20 AH battery and they appear to have adequate power and rpm to provide a scale top speed. Since my tank will be operating off an LCM, I am making it water tight up to the sponsons. This is proving to be easier than anticipated.