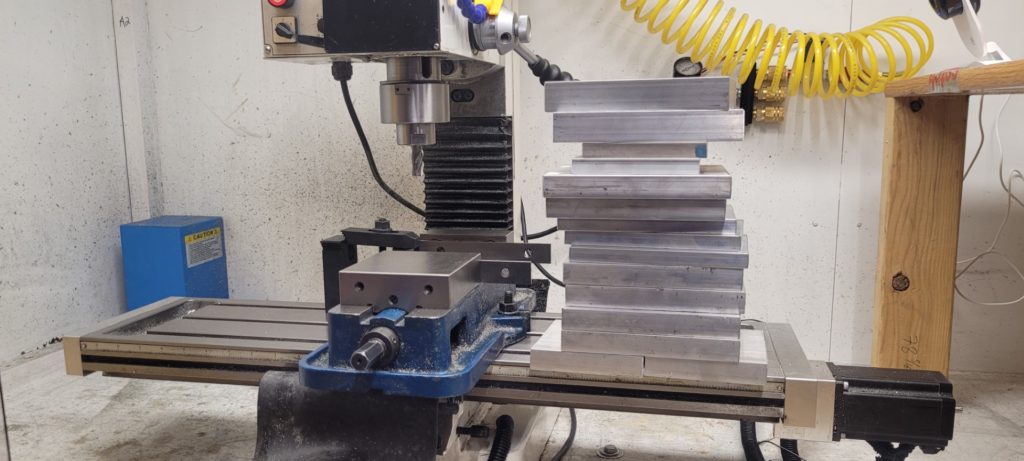
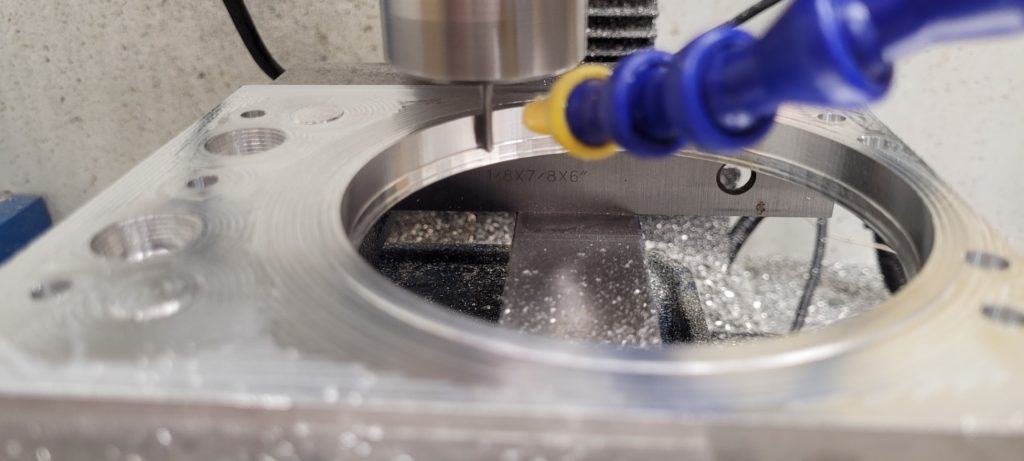
To make to CyberKAT super durable I injection molded nearly all of the plastic components in Delrin Acetal (only the lights are 3D printed). So I had to make 11 molds using my PM25-MV manual mill converted to CNC.
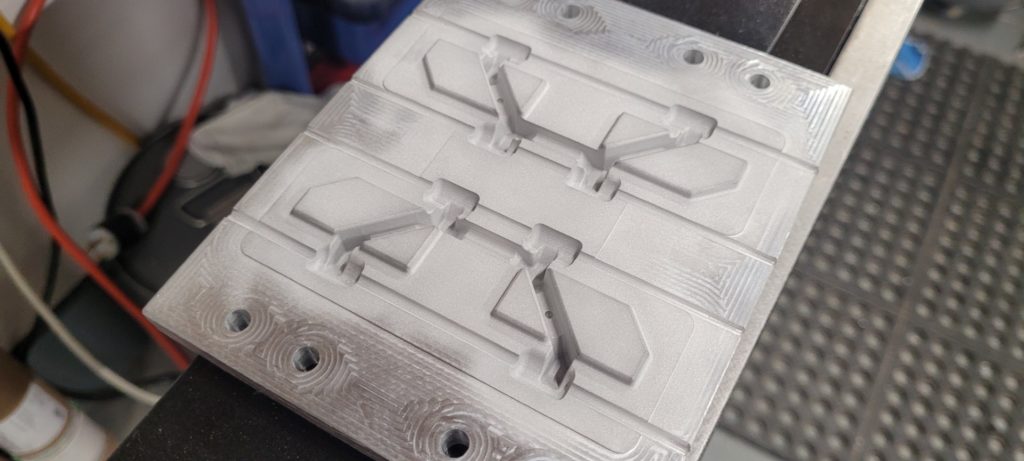
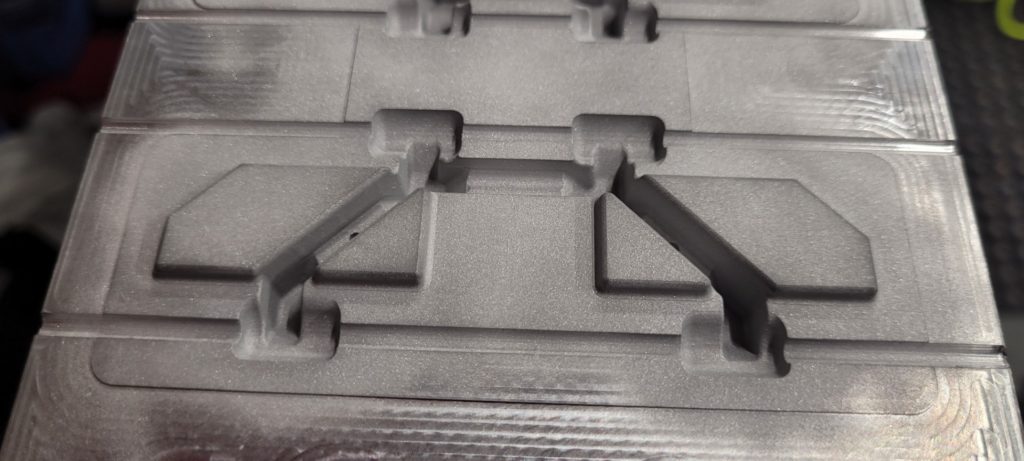
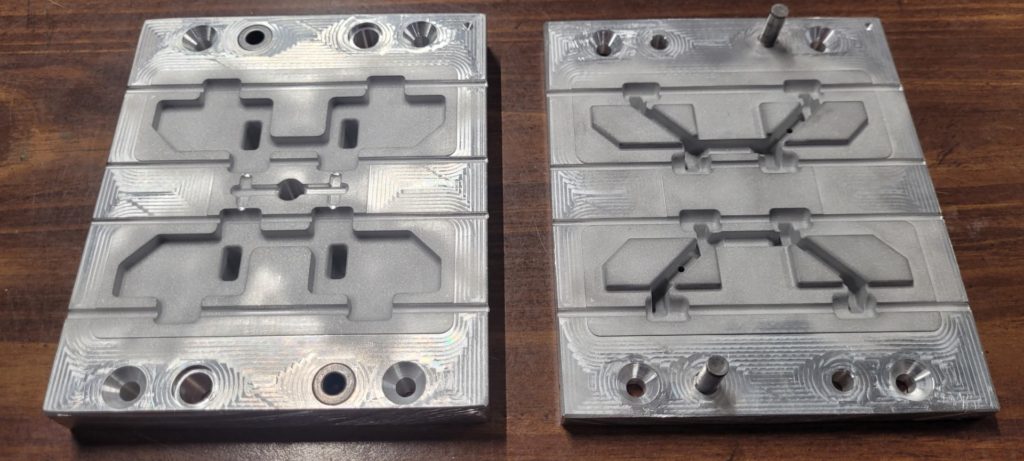
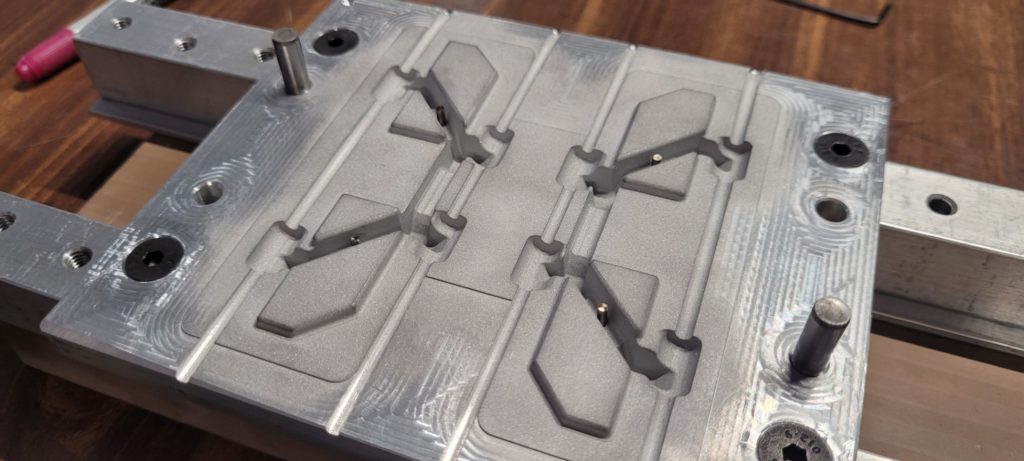
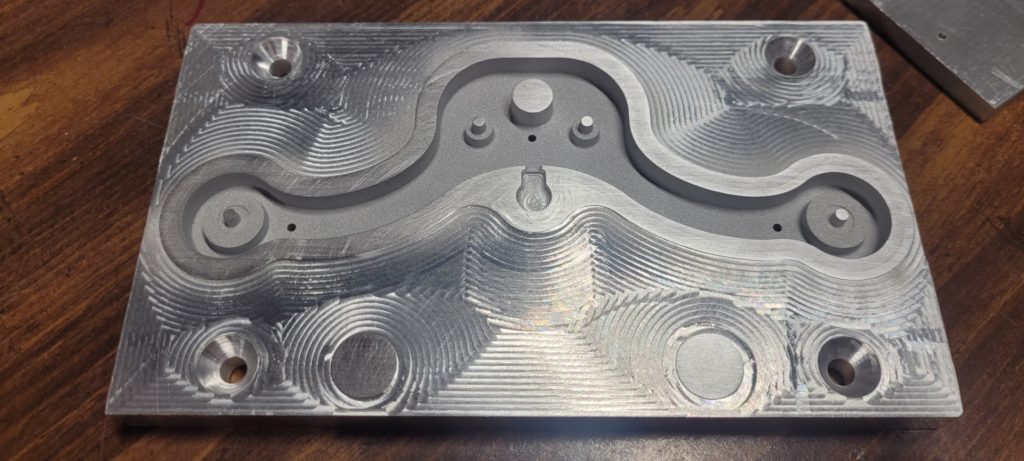
The track mold:
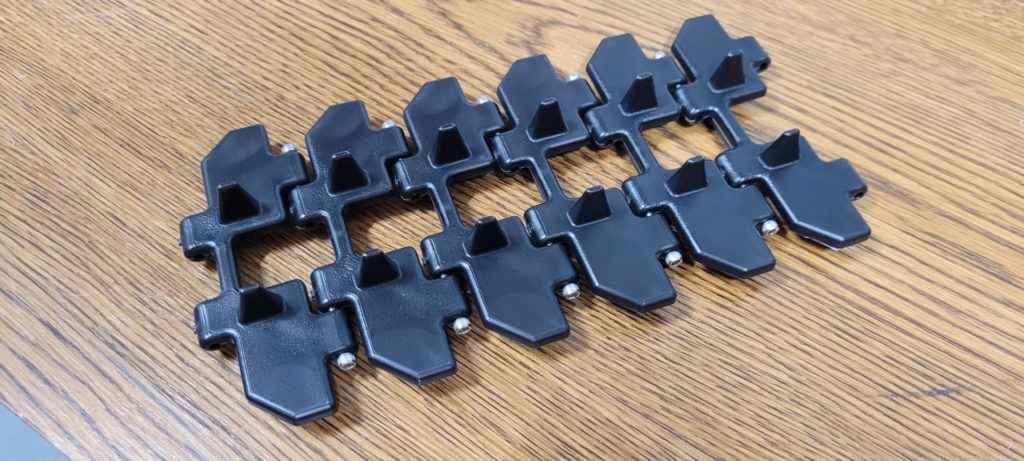
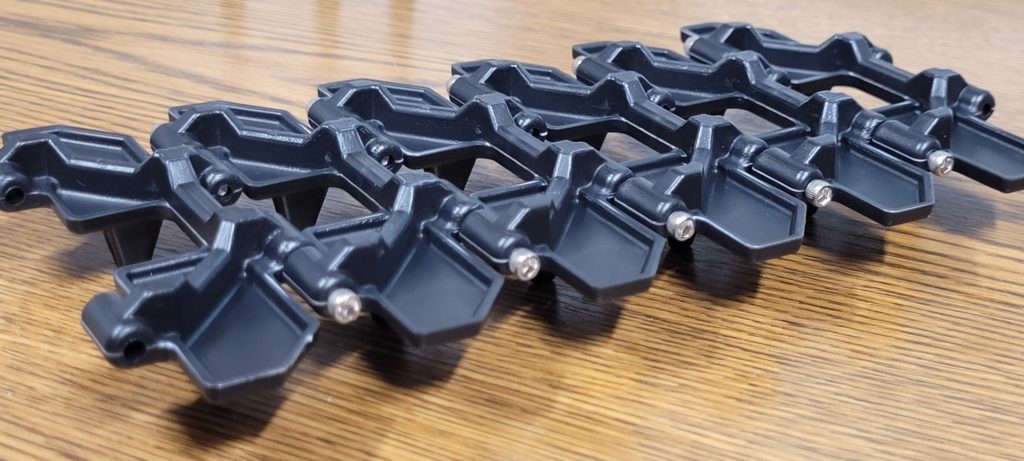
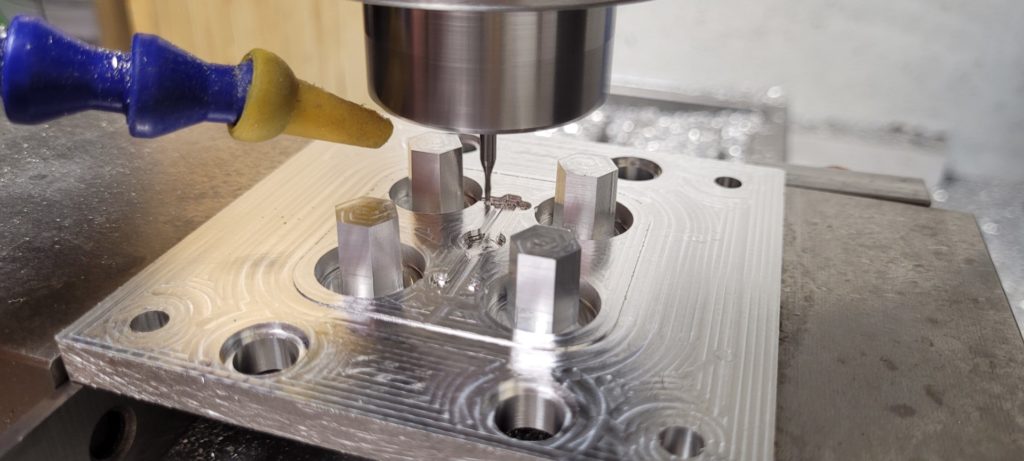
Testing out the ejector pins in my jig:
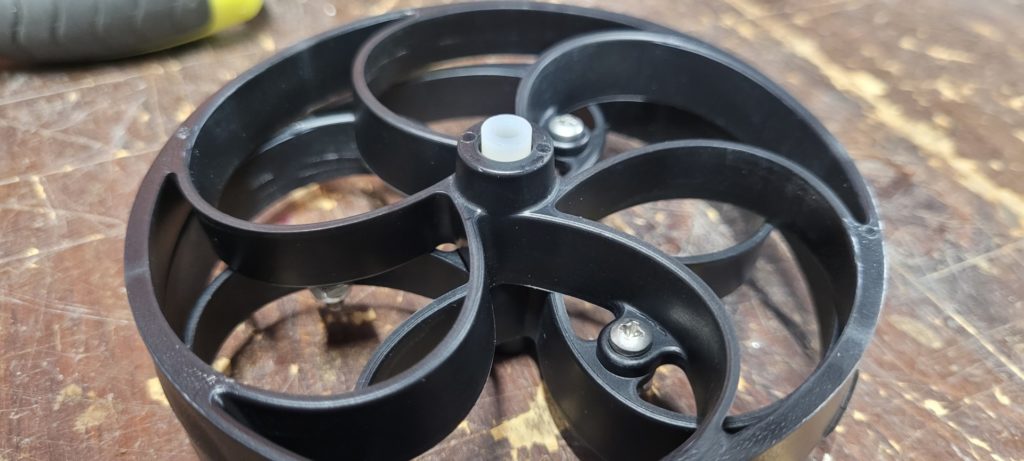
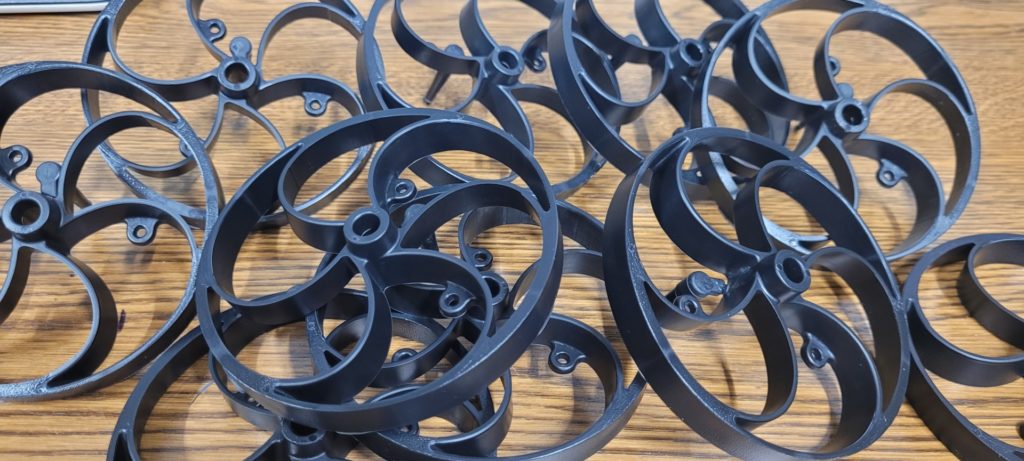
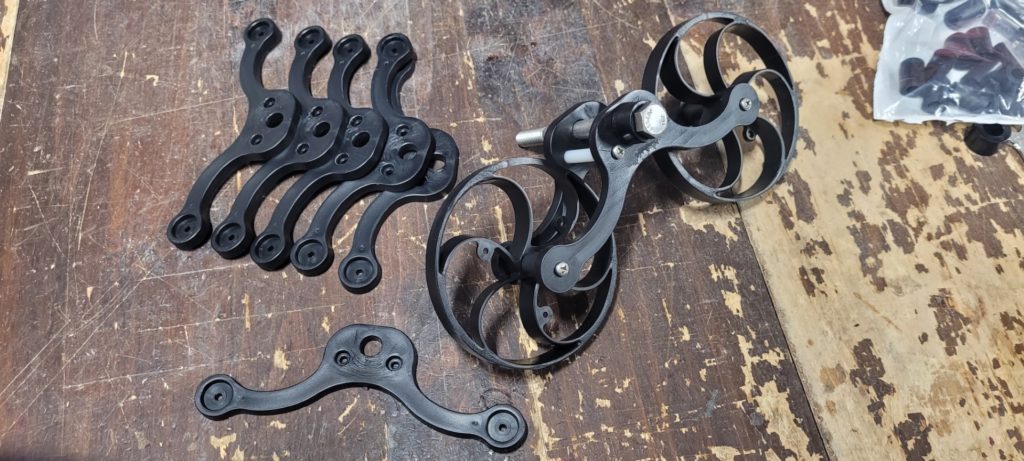
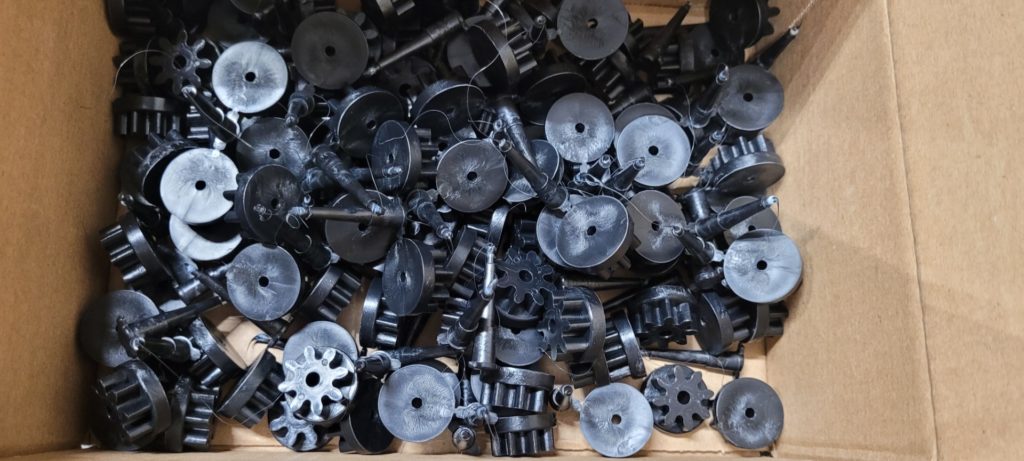
I came up with a special flexible suspension wheel to help give the CyberKAT some suspension, these act similar to leaf-springs:
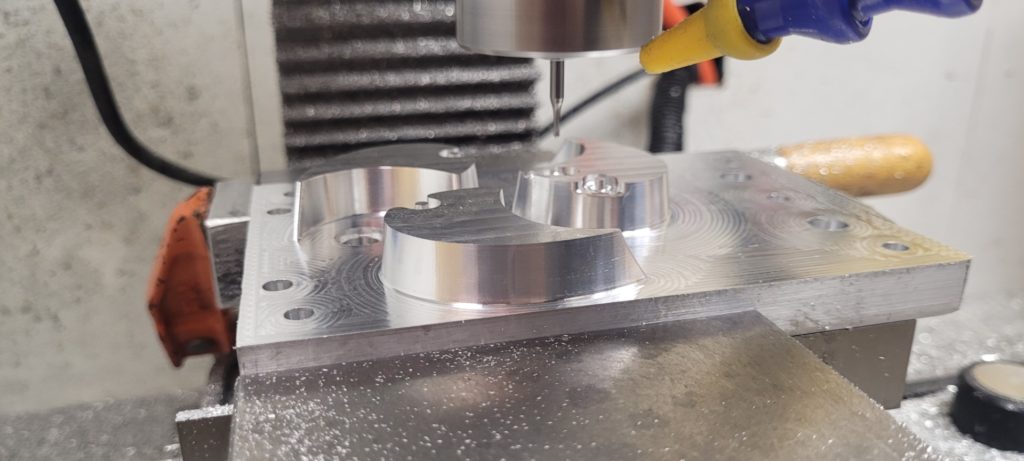
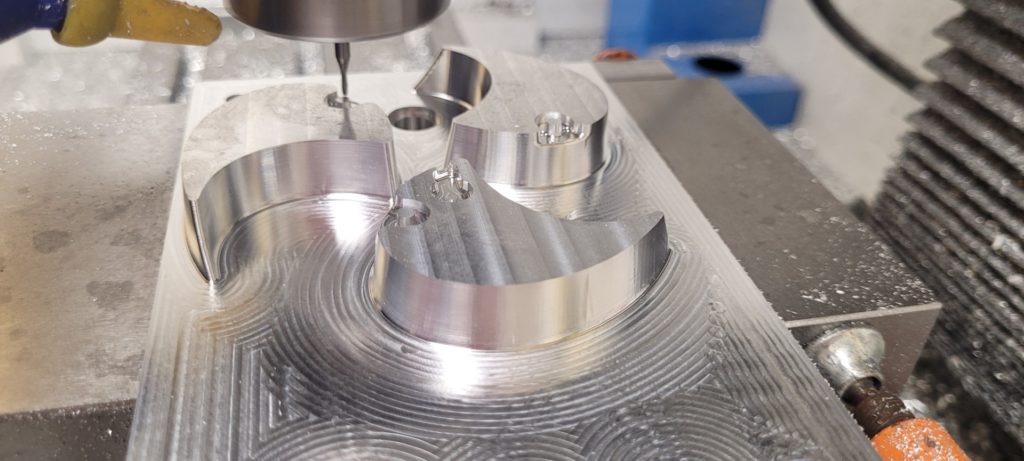
Because of the mold shape the wheel rim was too small to get a endmill in to machine the cavity out, so I had to do my first 3-part mold:
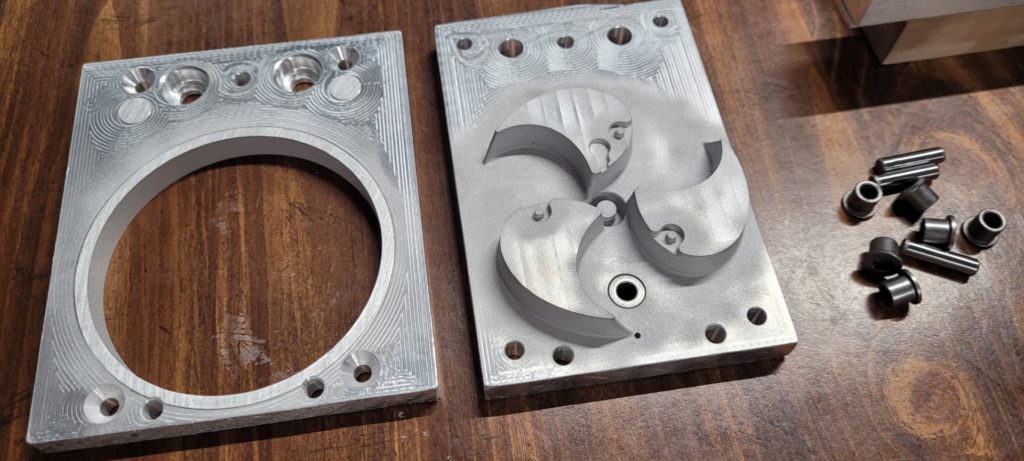
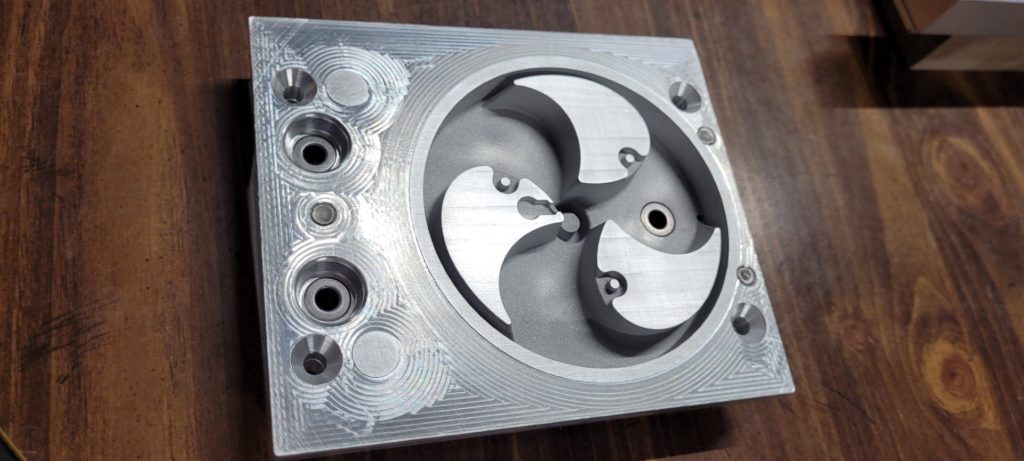
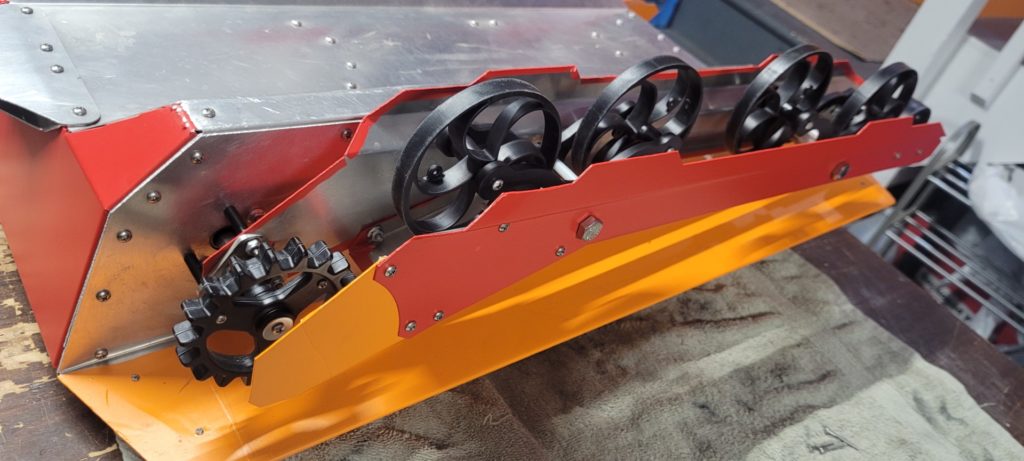
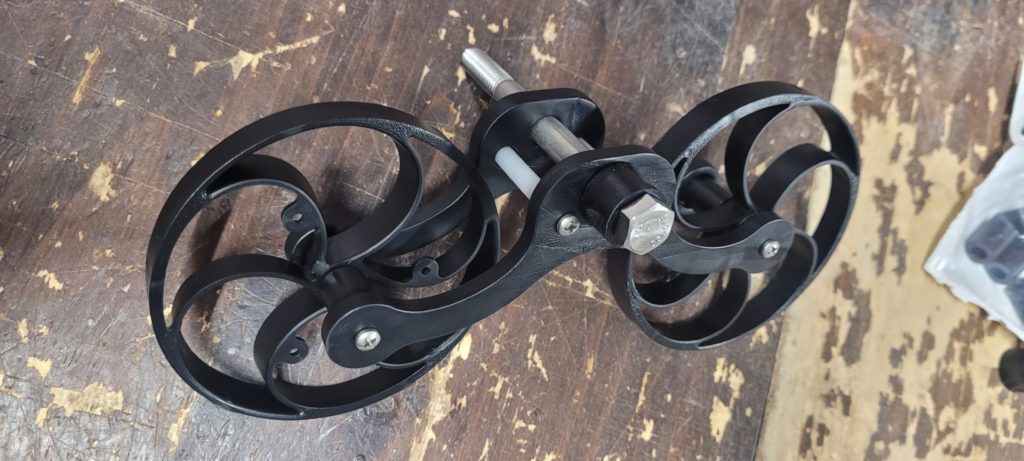
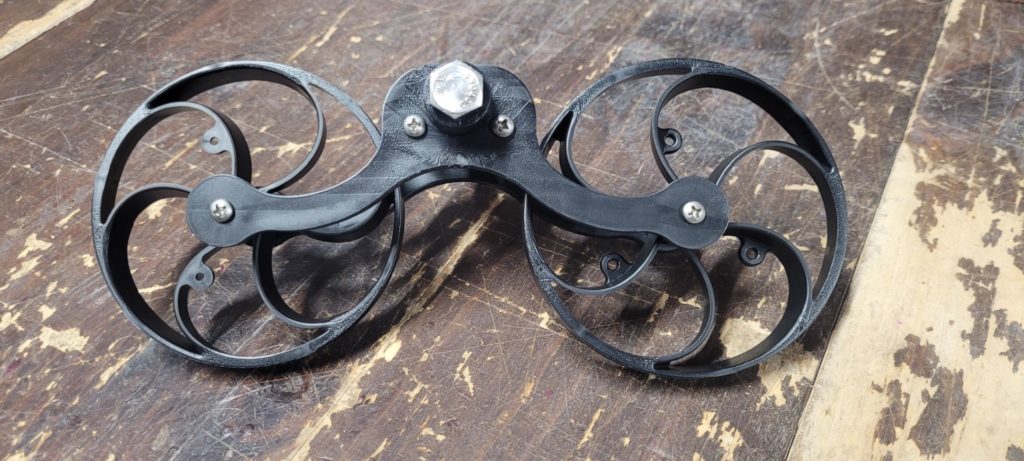
The suspension wheels can be setup as dual or singles. Dual provides a really stiff ride, and single has a lot more suspension:
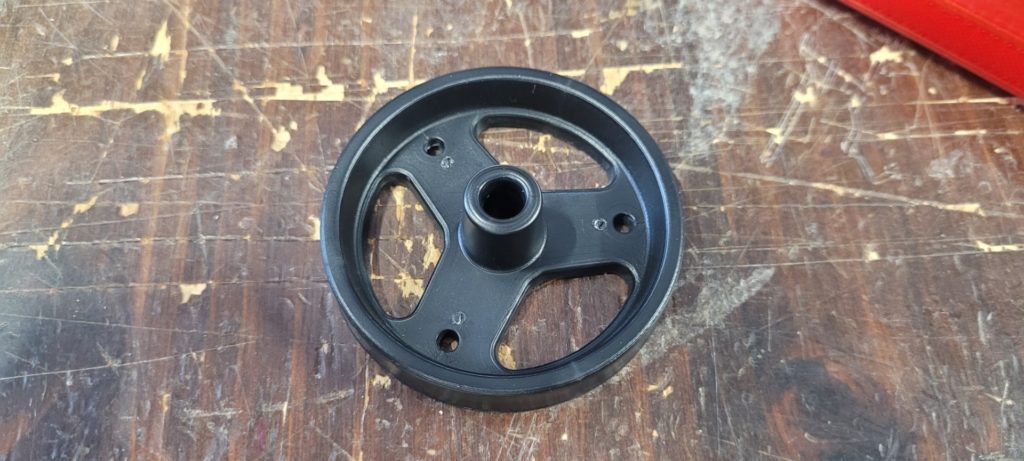
Forward Idler Wheel:

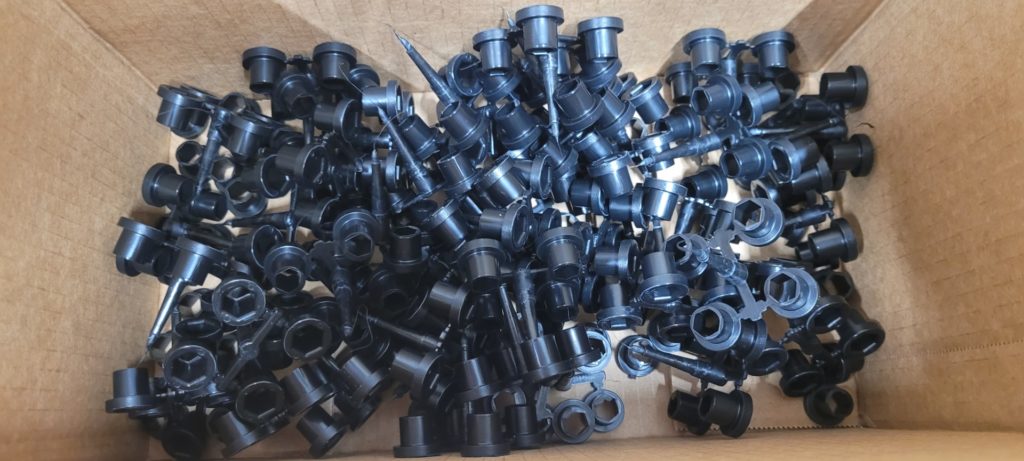
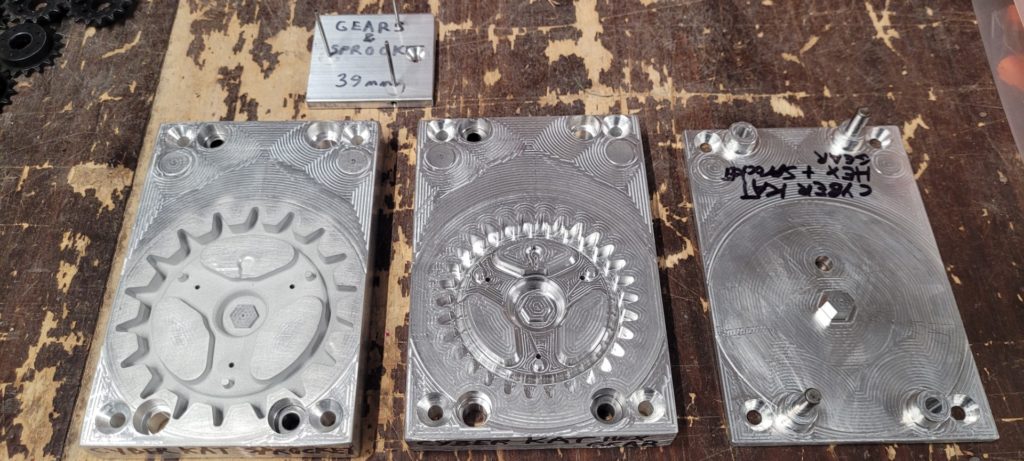
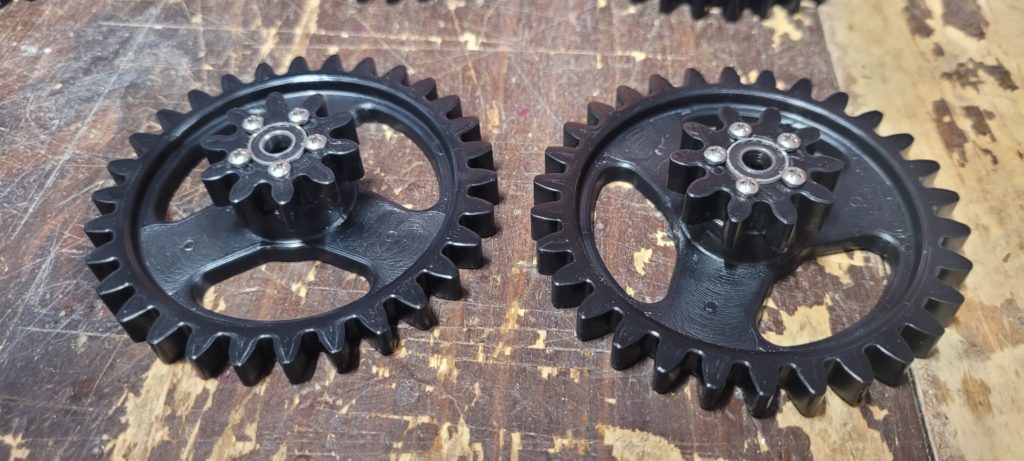
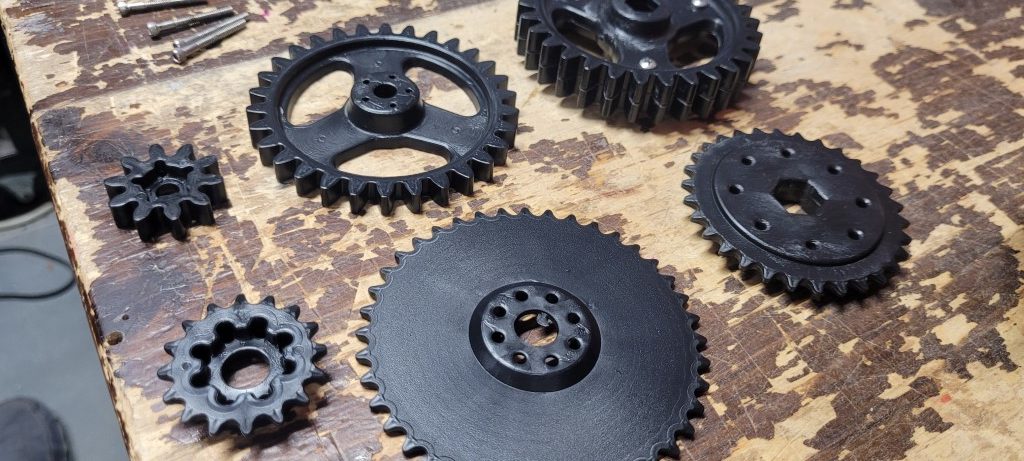
Sprocket:
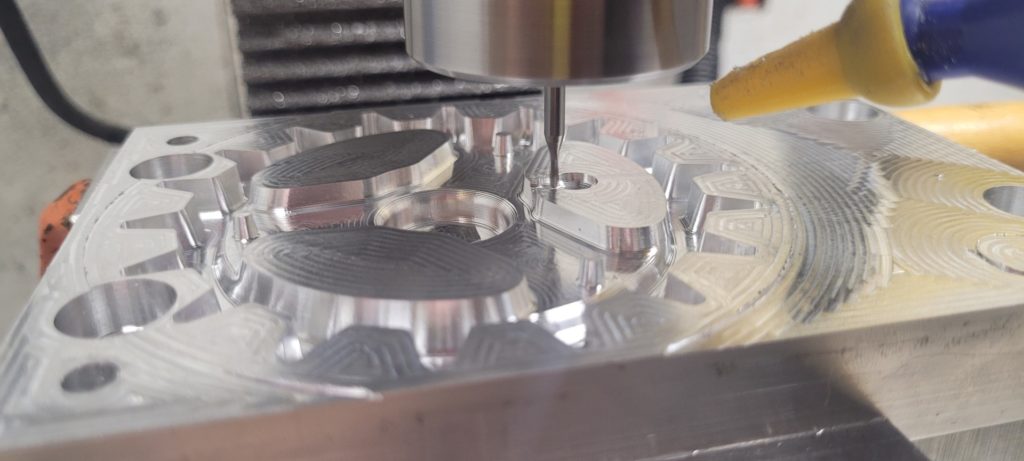
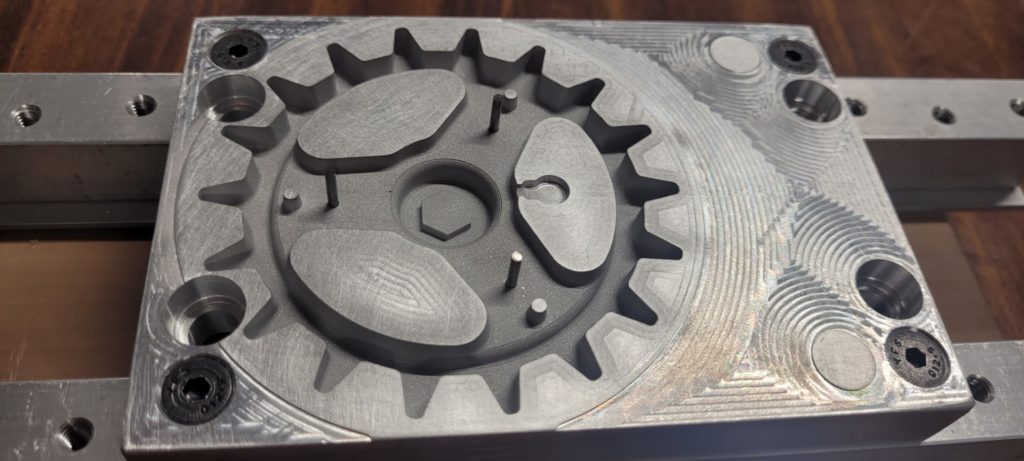
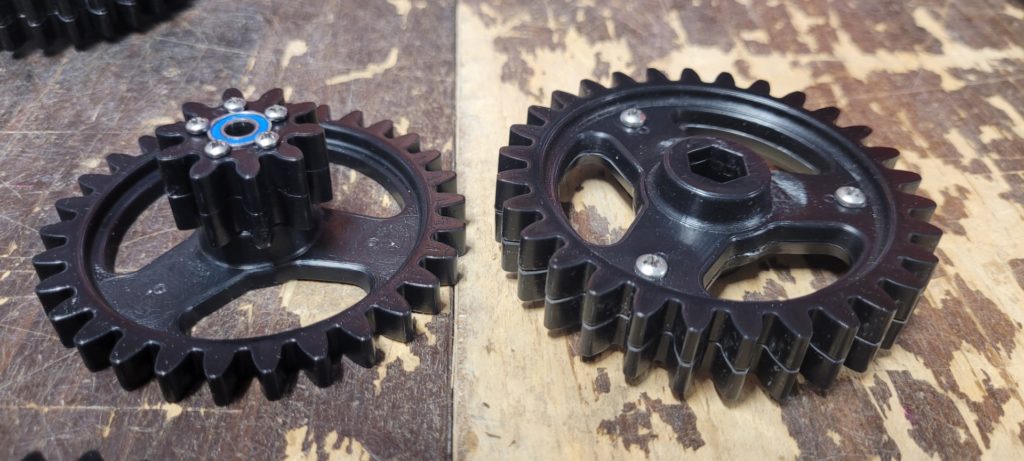
Most of my parts were limited on my injection molding machines shot size of 30 grams. So this Sprocket had to be split into 2 halves and then screwed together:
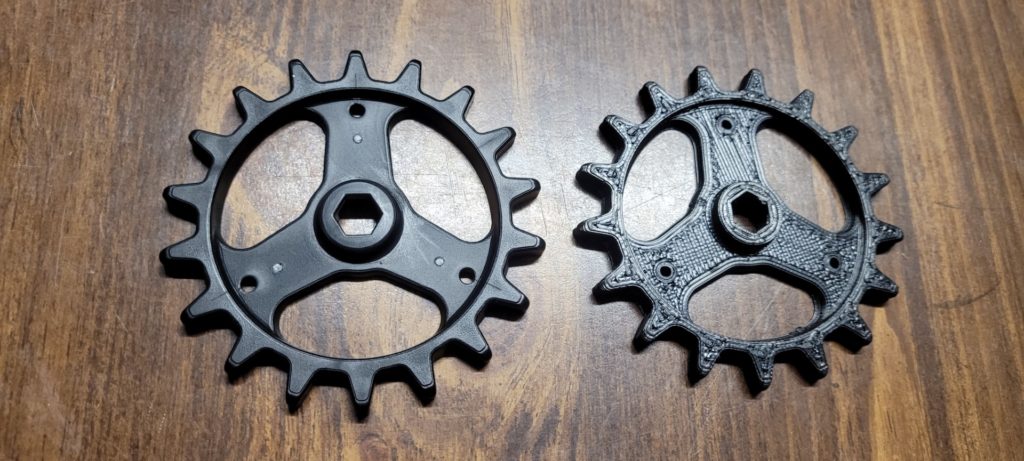
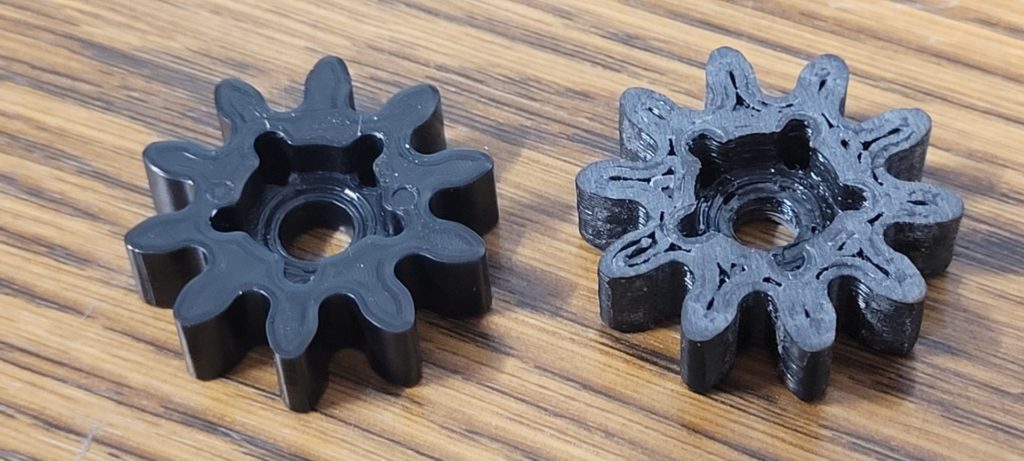
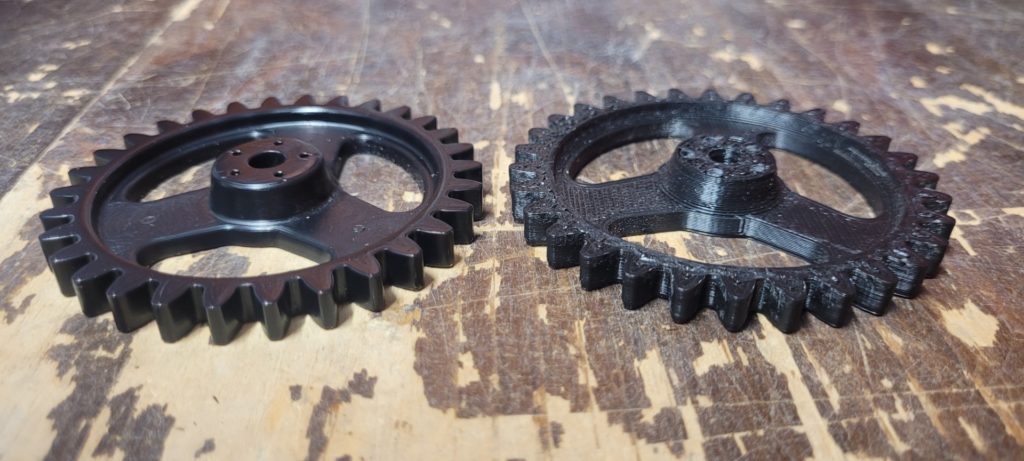
Injection molded Sprocket vs 3D printed prototype:
To give the CyberKAT just a little more suspension I came up with this design, acts like a REALLY stiff leaf-spring for hard impacts:
Had several small spacer molds to make:
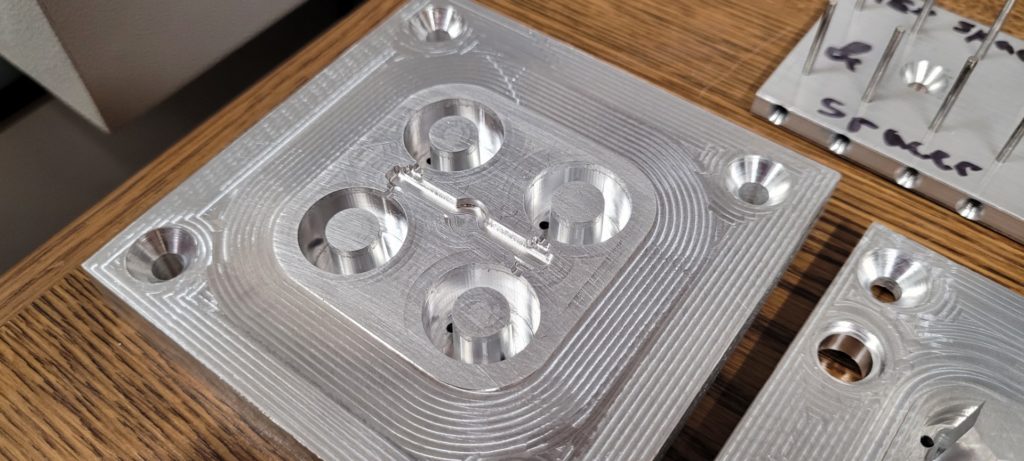
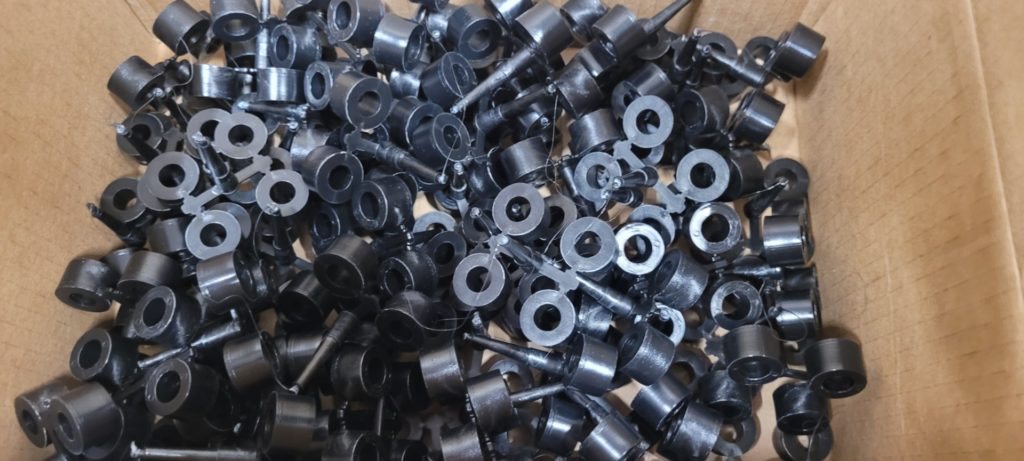
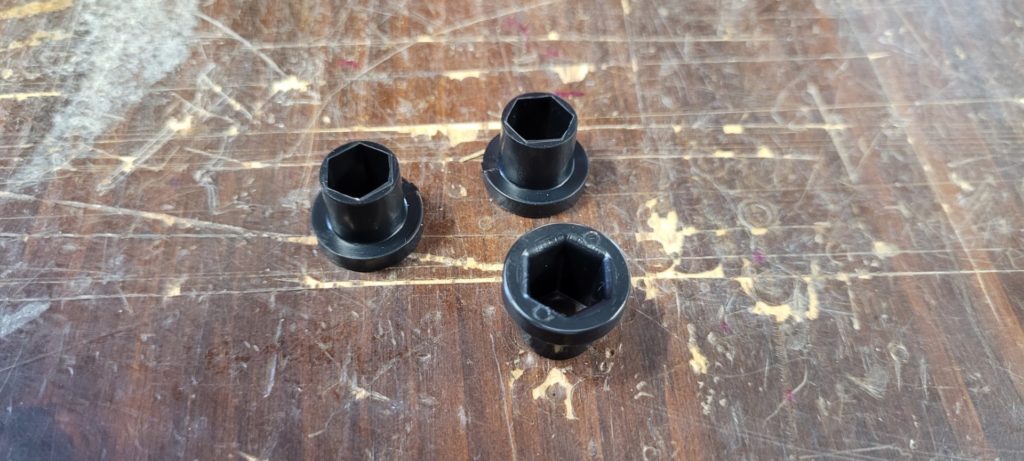
This hex spacer adapted from the hex driveshafts to bearings:
Pinion gear designed for bearings:

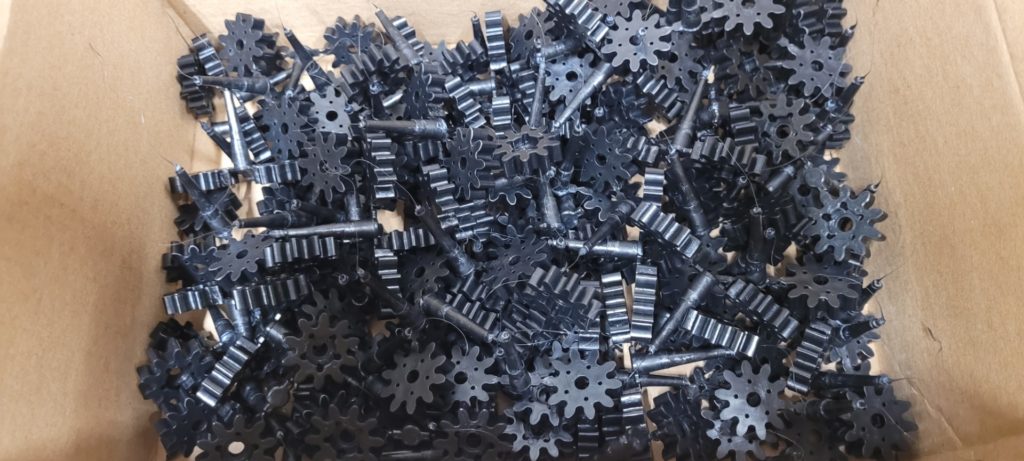
Motor gear (you can drill out to any motor shaft size)
The sprocket and 2 different gear molds share similar molding components. For example the ejector pin plate is shared across 3 molds:
Injection molded vs 3D prototype:

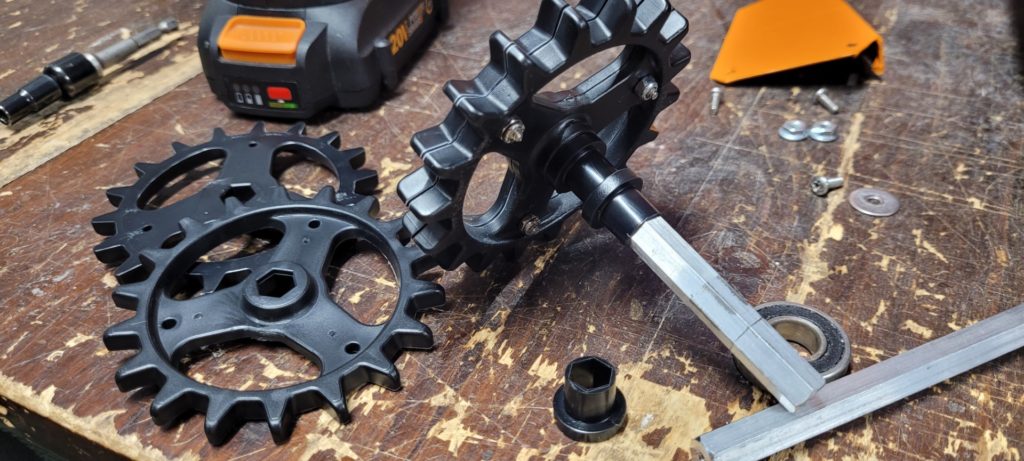
CyberKAT transmission parts sitting next to my 2X Spyker KAT transmission parts (which was chain driven):

![]()