Check out these posts to go into a deeper dive at how the CyberKAT is made:
(The Snow Blower accessory attachment for the CyberKAT is still under development.)
The CyberKAT can be ordered here: CyberKAT
Check out these posts to go into a deeper dive at how the CyberKAT is made:
(The Snow Blower accessory attachment for the CyberKAT is still under development.)
The CyberKAT can be ordered here: CyberKAT
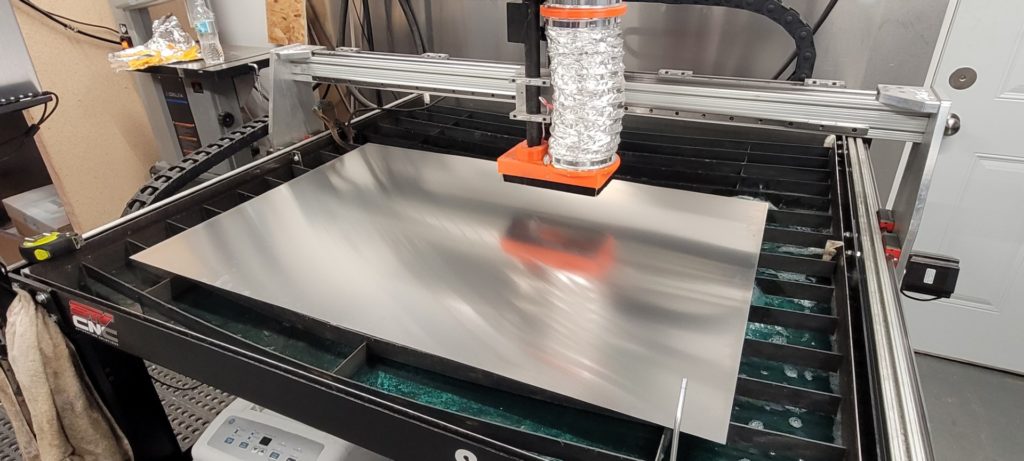
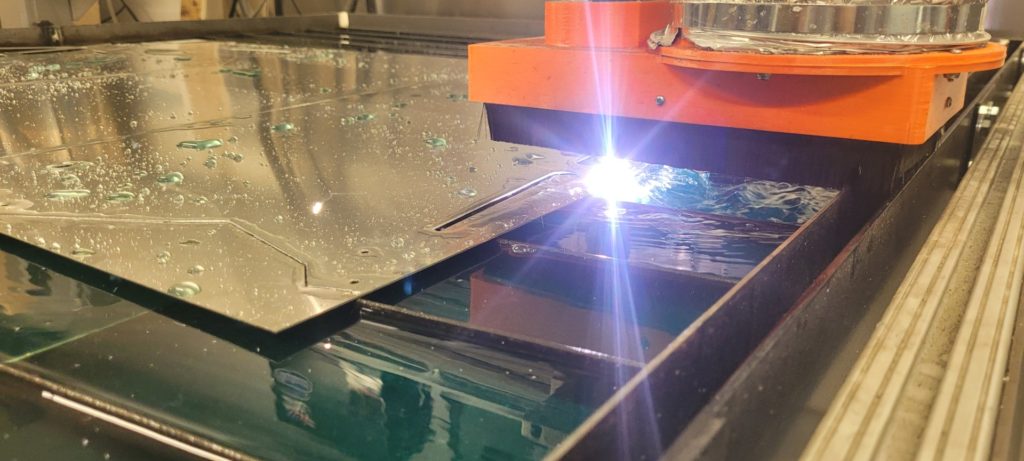
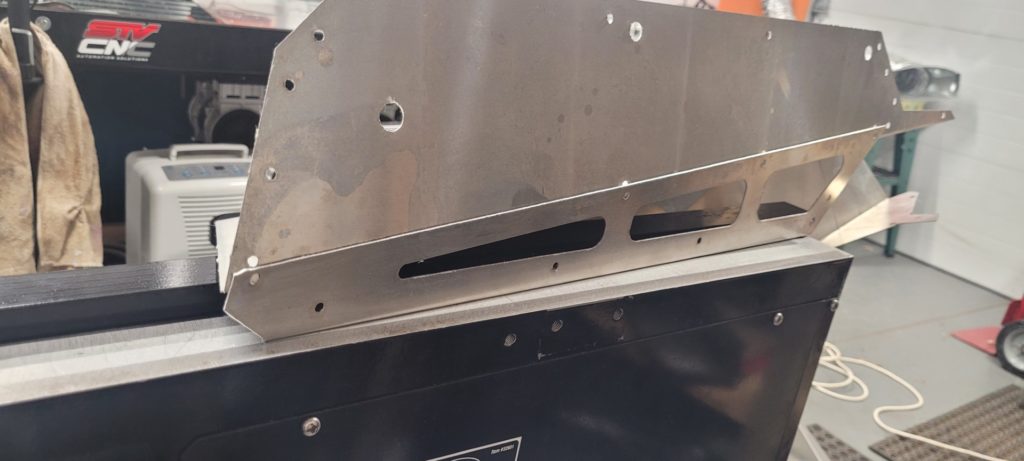
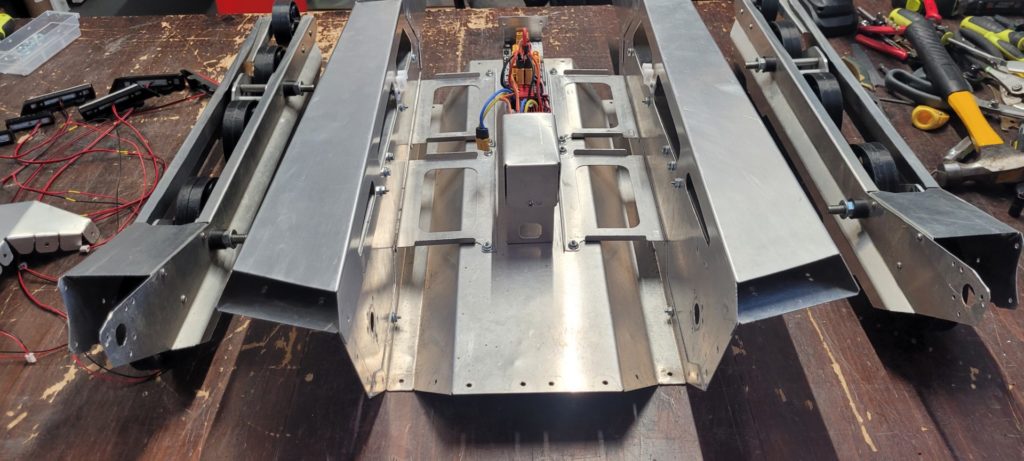
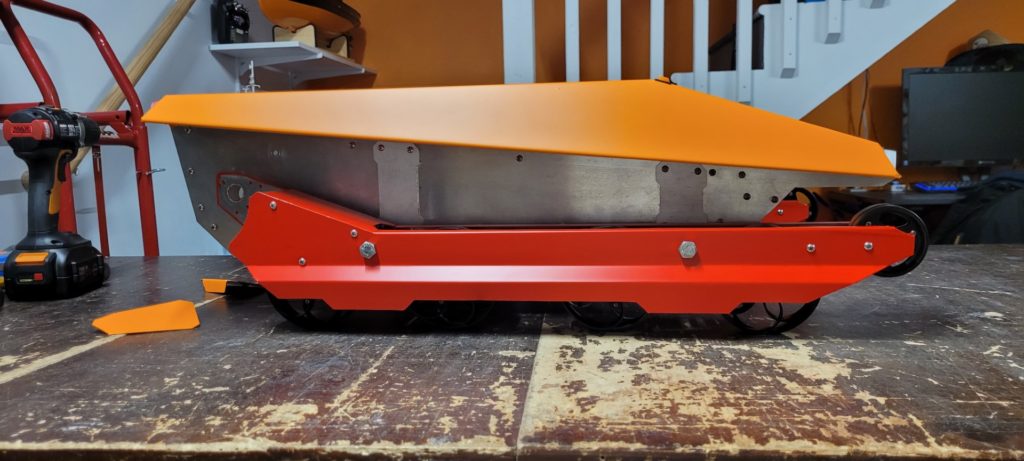
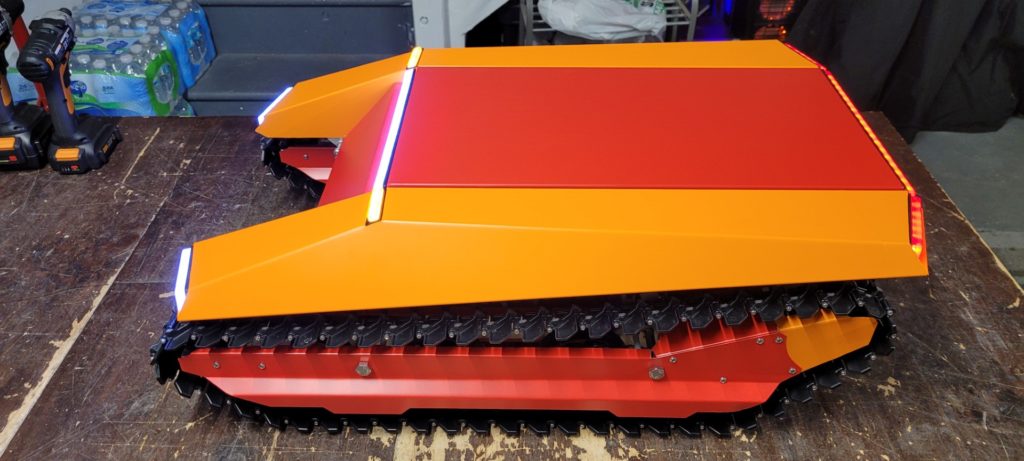
The CyberKAT frame is made out of CNC plasma cut 5051 aluminum sheet metal 0.04″ thick. We do everything here in our workshop!
The CyberKAT would not be possible without this magnetic sheet metal bender. The whole machine was designed around the bends I can make on this:
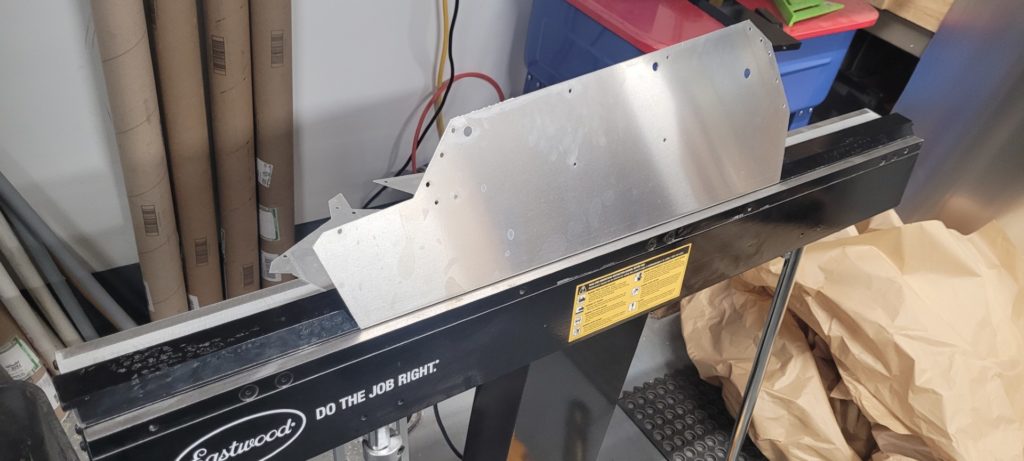
Magnetic clamp bars make it possible to make the bends to keep CyberKAT upper body without any exposed screws:
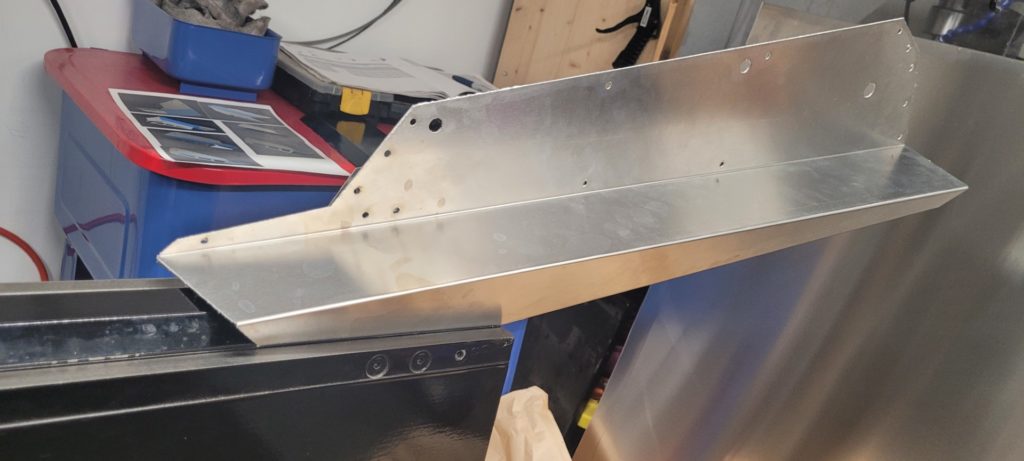
The way the CyberKAT was designed, any residue left behind by the plasma cutting is hidden inside the body:
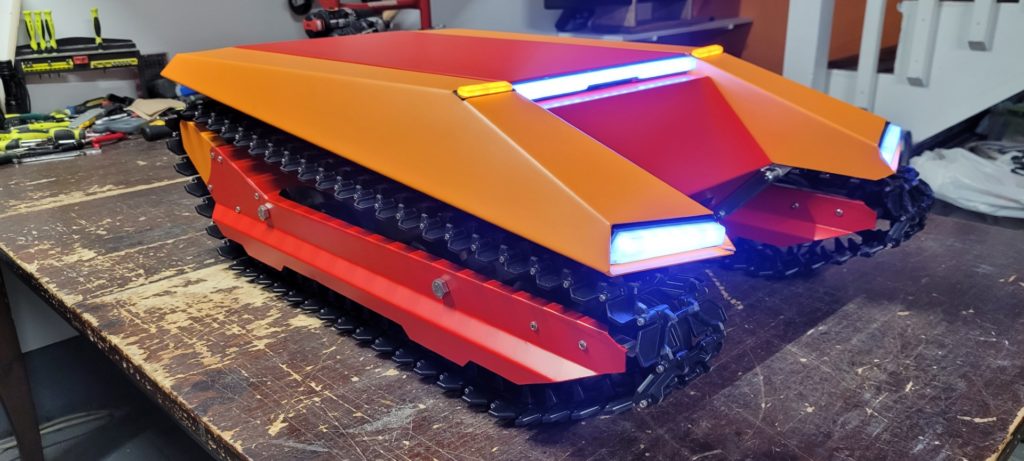
Since the CyberKAT was designed without a single exposed screw on the upper body, it can be easily DIY vinyl wrapped with the same stuff you use to wrap cars!
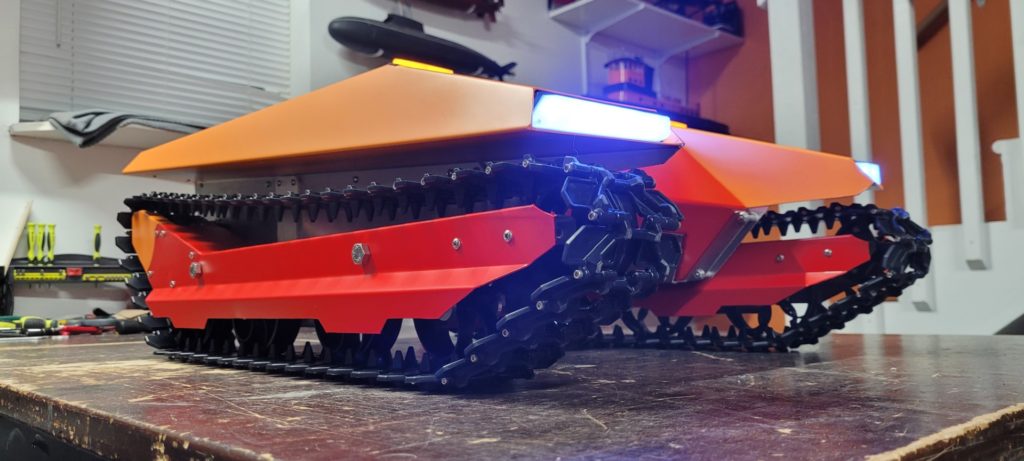
The aluminum frame can be scratched fairly easily so I would recommend wrapping your CyberKAT, you can wrap it with clear paint protection film also to keep the aluminum look:
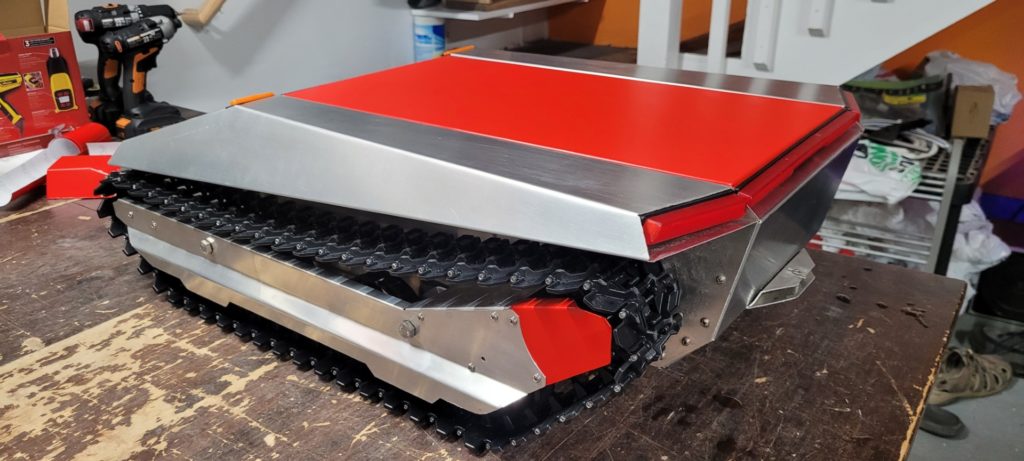
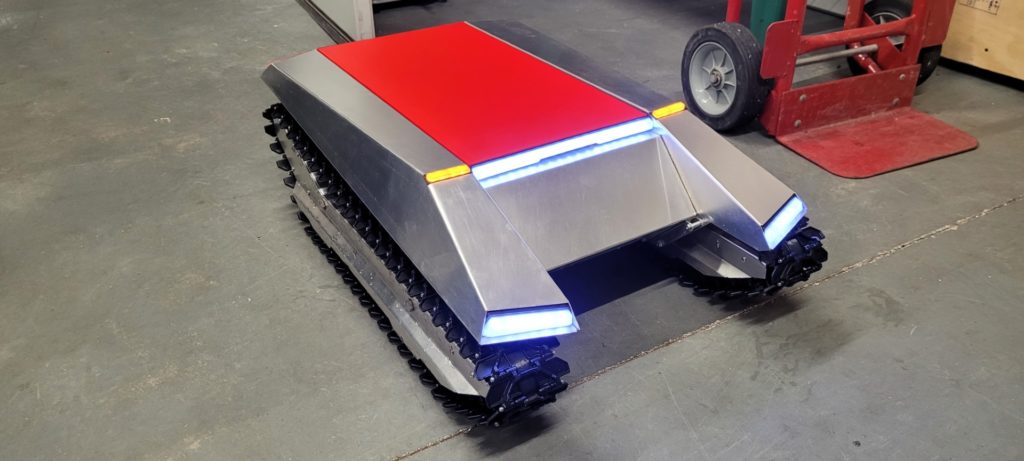
All you need is a simple heat gun from your local hardware store and around 3x5ft of vinyl wrap in any colors you want! (sold on Amazon and all over online)
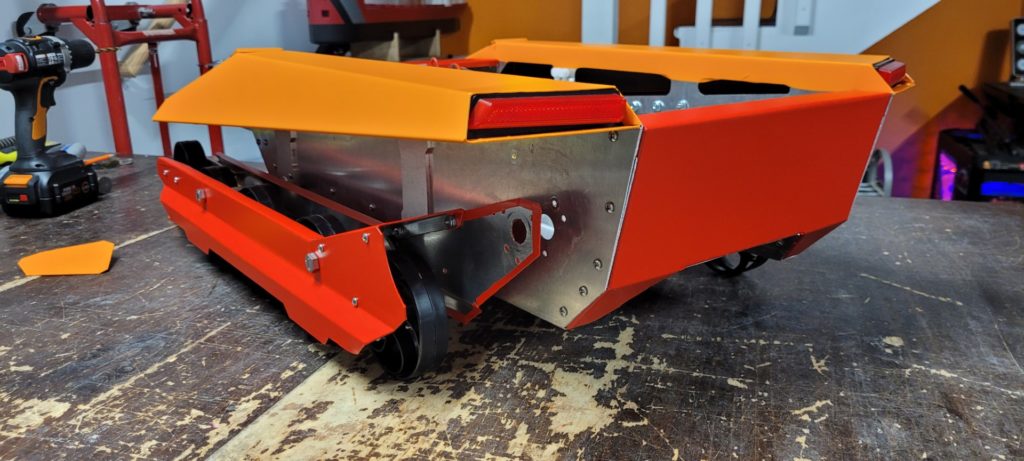
No reason to wrap the bottom or around the wheels:
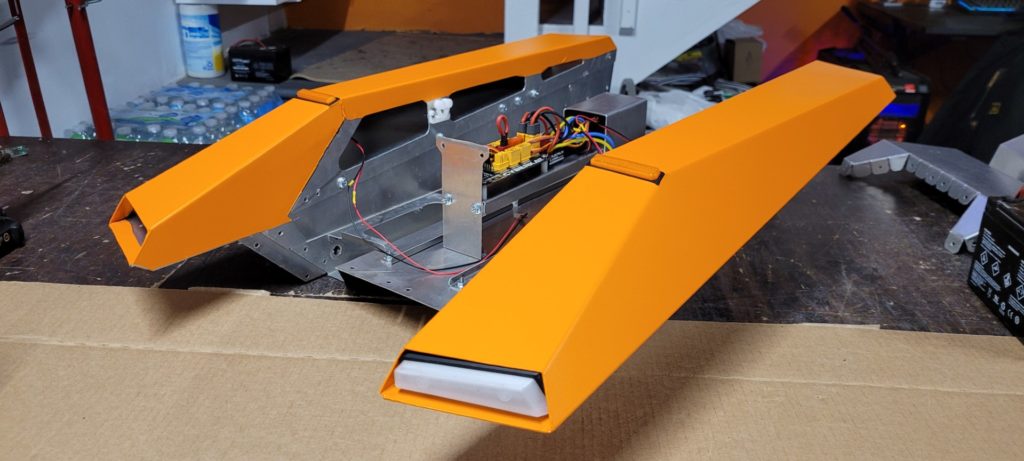
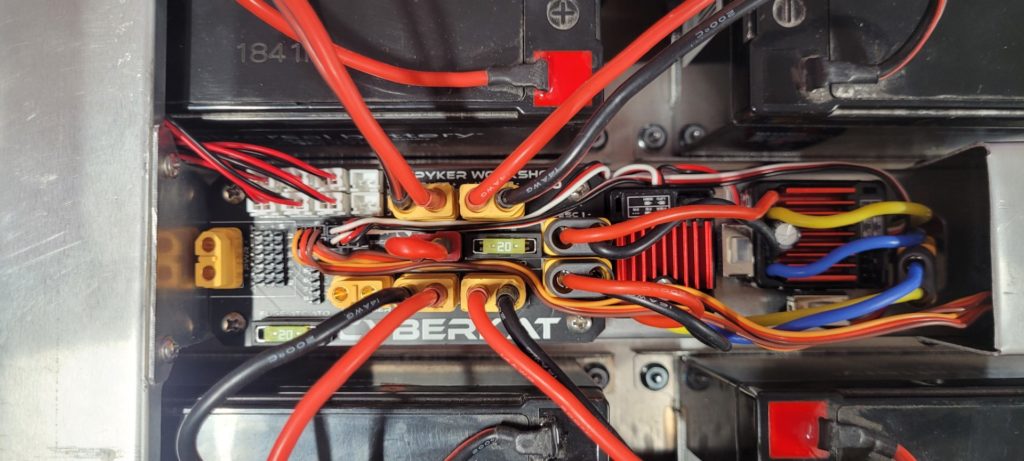
I designed this PCB board for the CyberKAT, it distributes the power from the batteries to the ESC’s and other systems.
The “PWR ATTACHMENT” ports will be used for FUTURE accessories (Such as the upcoming still in development snow blower attachment.)
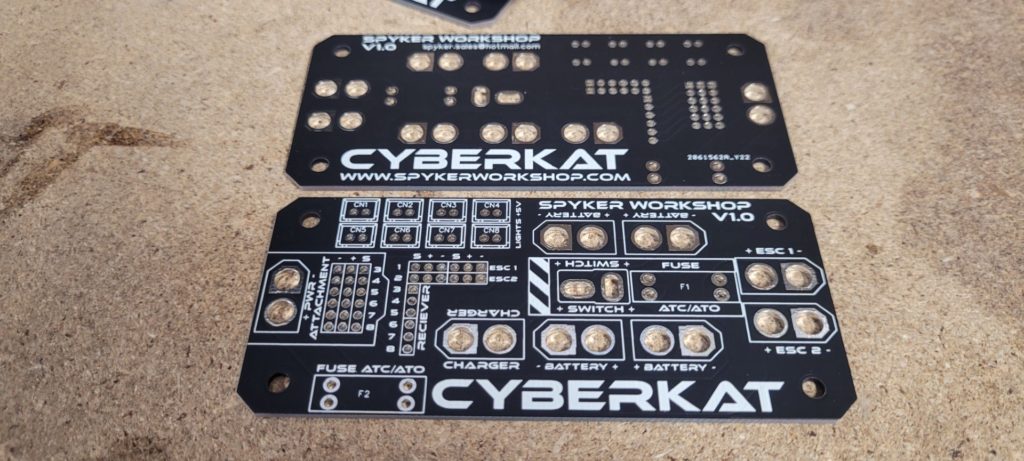
A special function of the board is that is takes 2 ESC signals from your RC receiver and splits up the BEC power so one ESC powers all the LED lights. While the other ESC powers the receiver and FUTURE accessory servos.
It also features automotive fuses to protect everything.
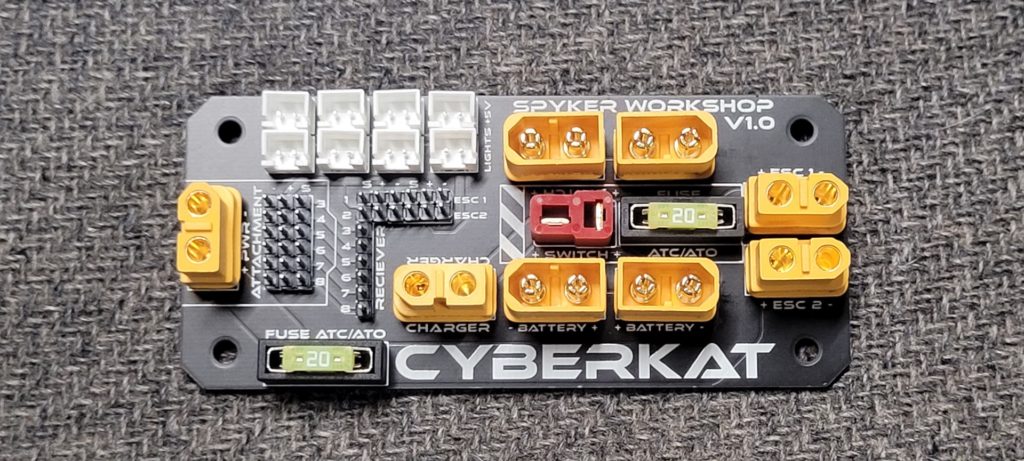
Very little soldering needs to be done, solder the PCB connectors on, solder wires to your batteries, and then solder wires to the motors is about it.
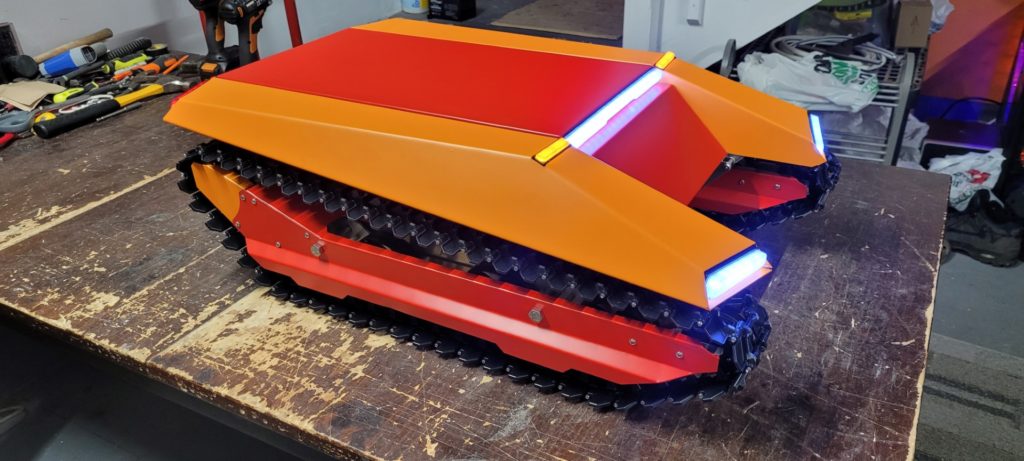
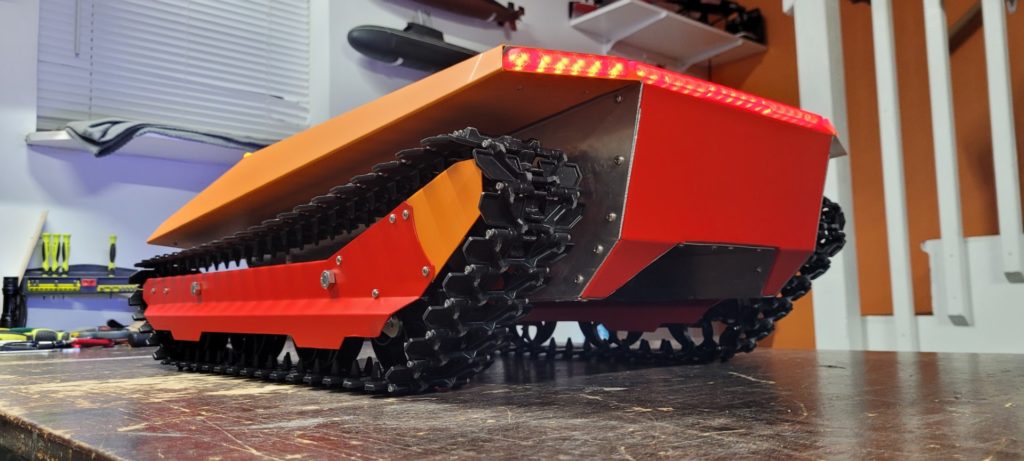
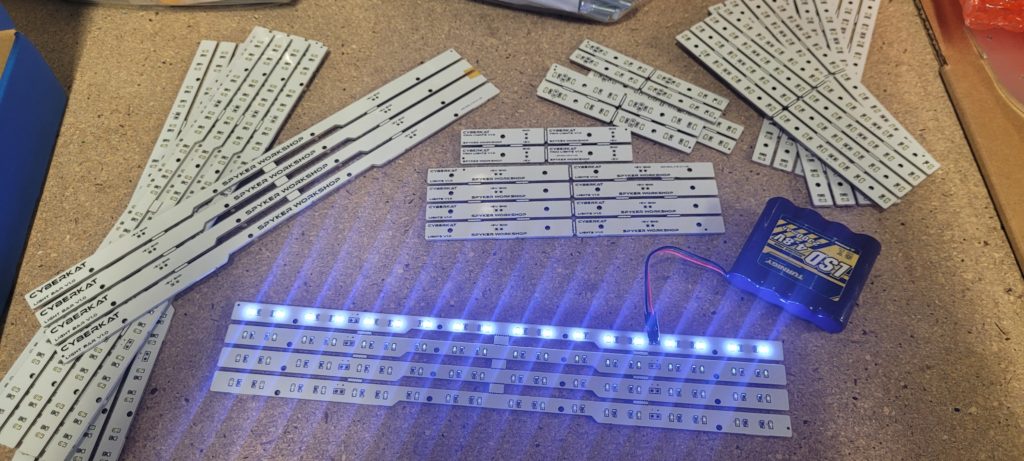
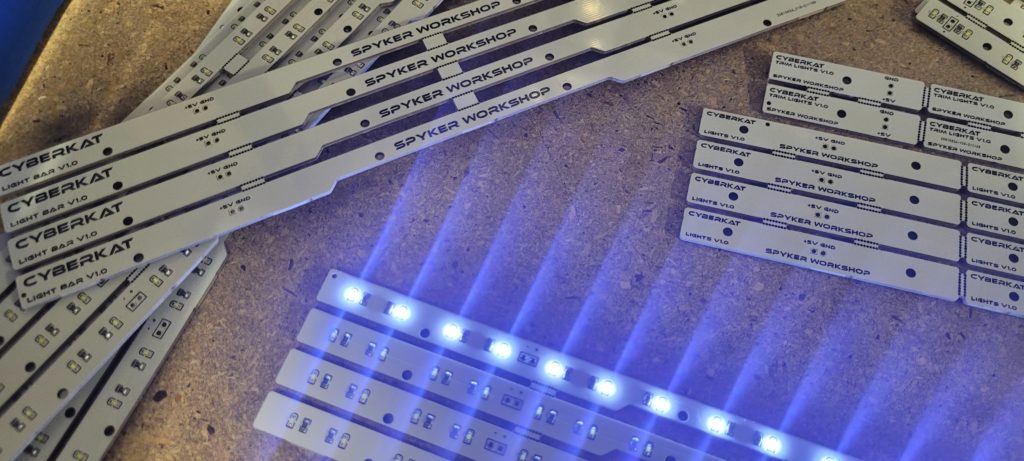
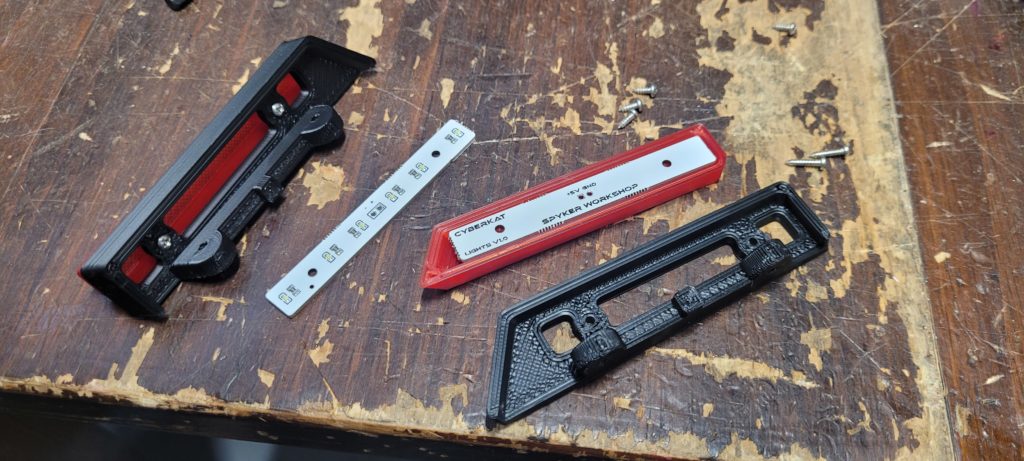
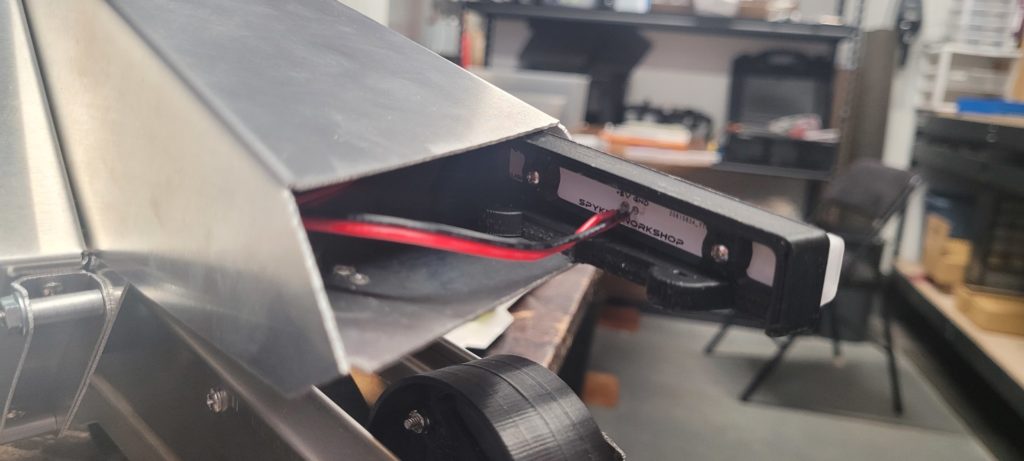
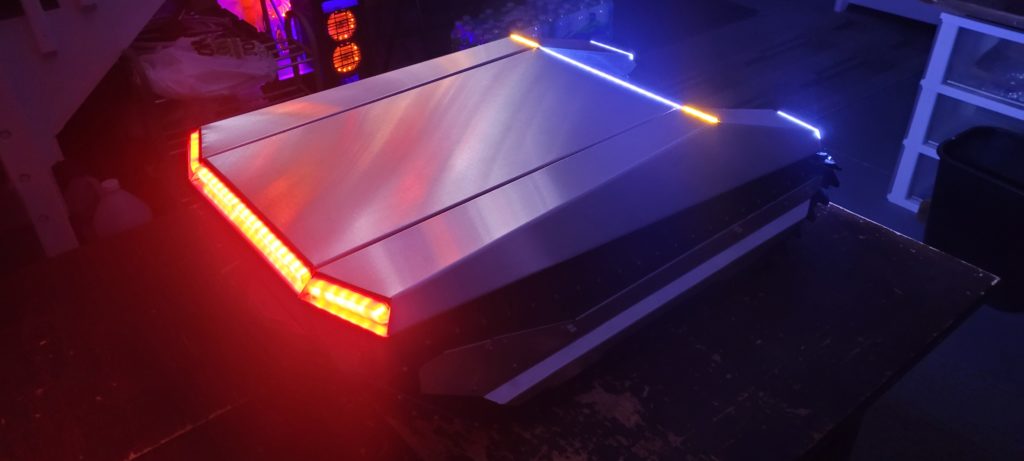
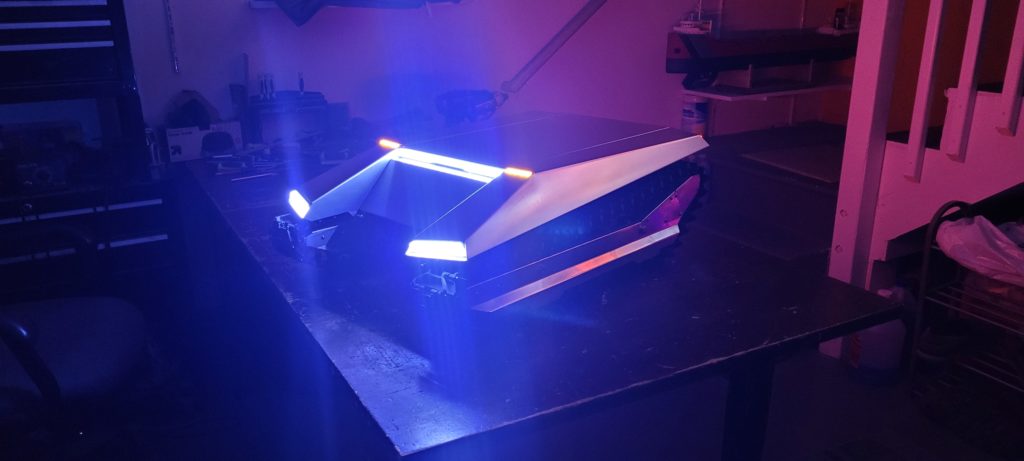
I also made custom LED light bars. A total of 8 PCB’s for each CyberKAT (5-6V):
The only 3D printed parts on the entire CyberKAT are the black light mounts, and the clear lens. Printed in PETG:
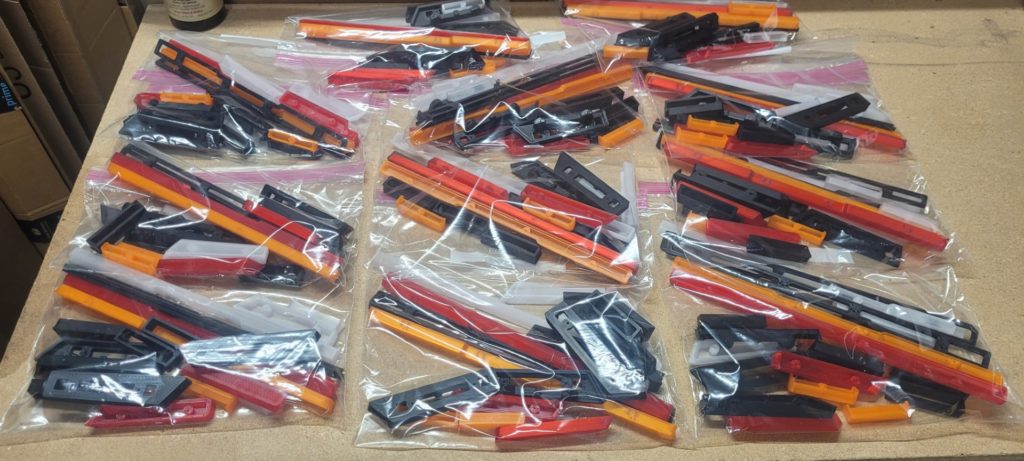
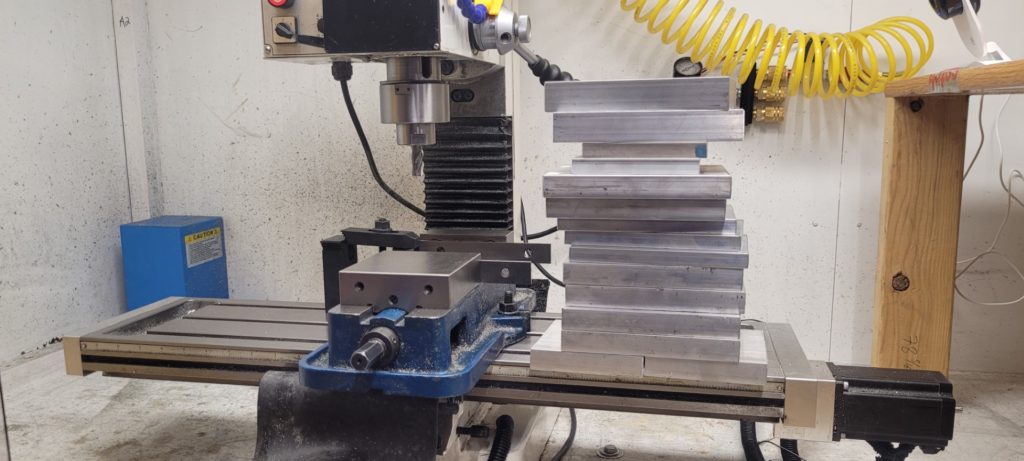
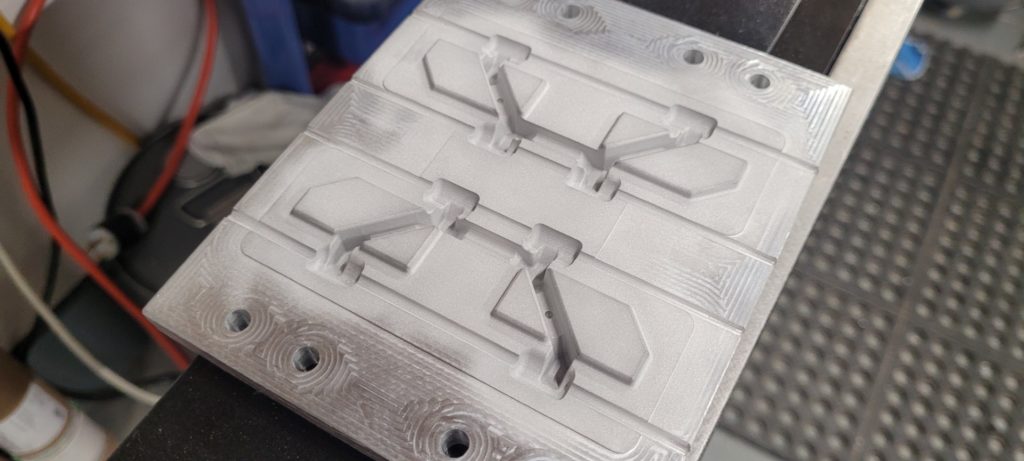
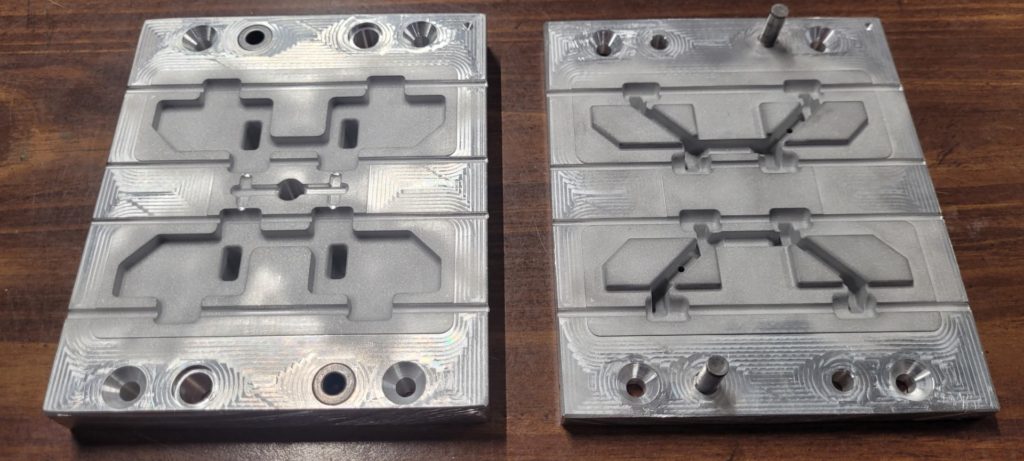
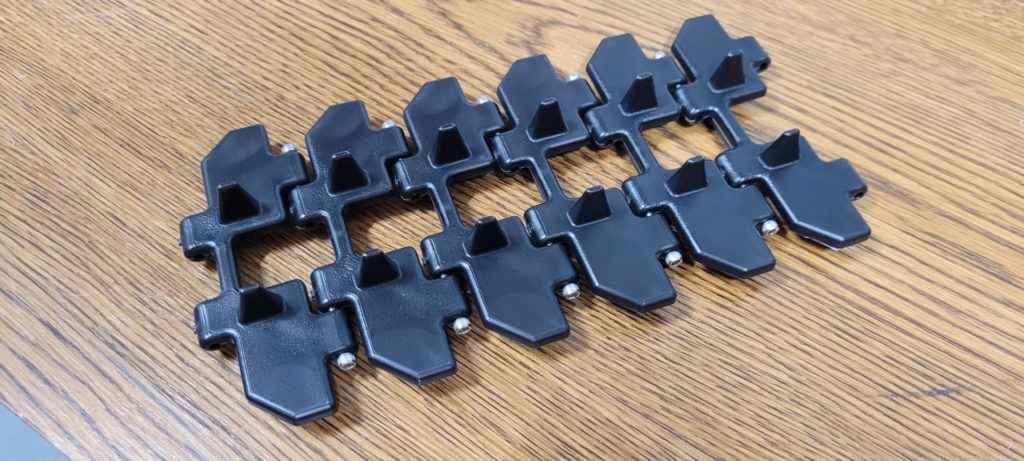
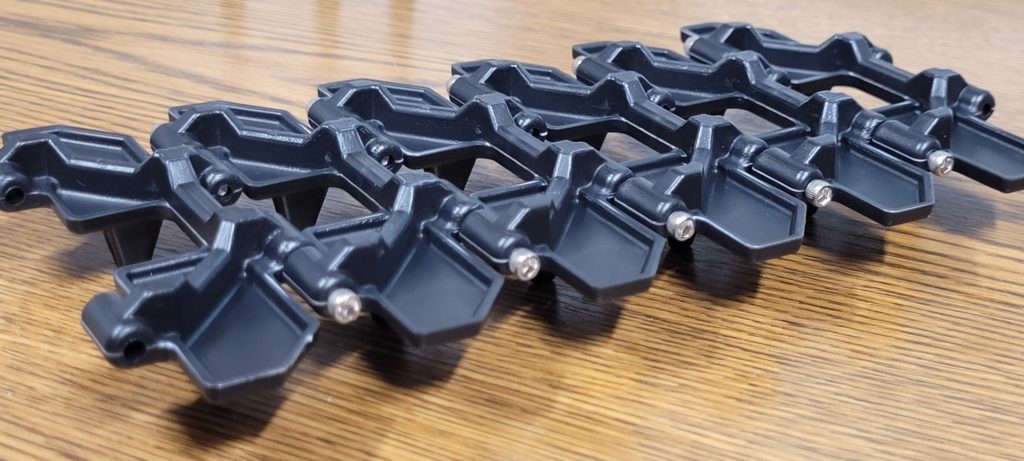
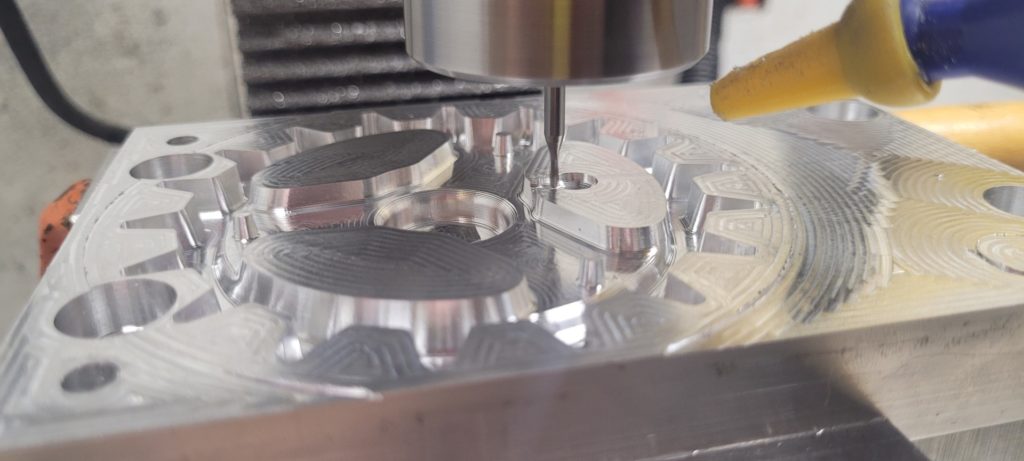
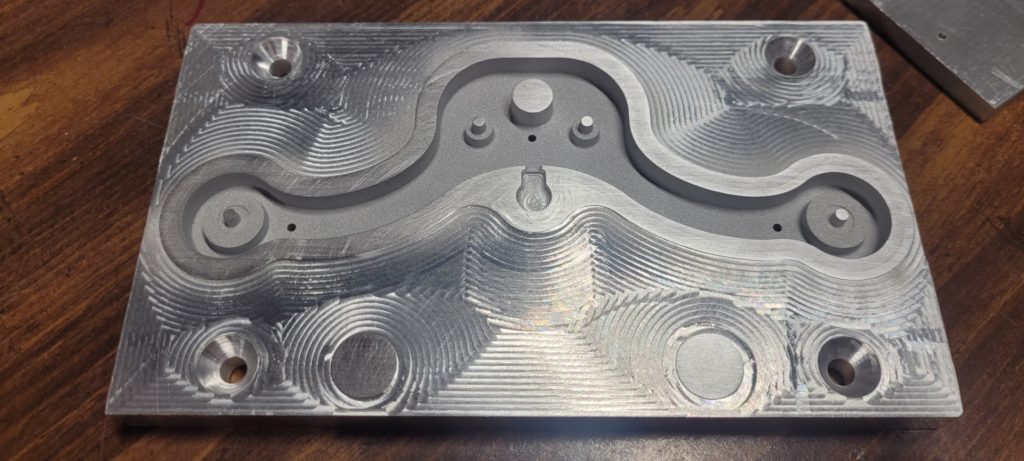
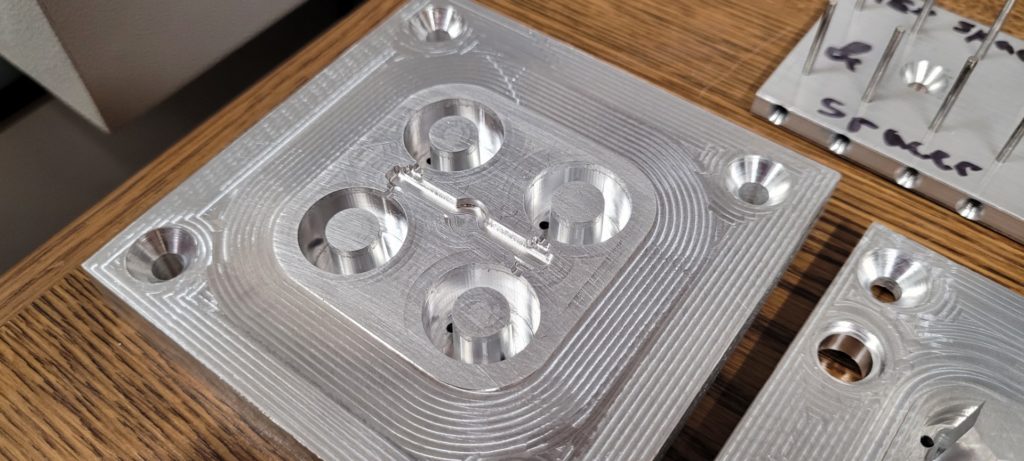
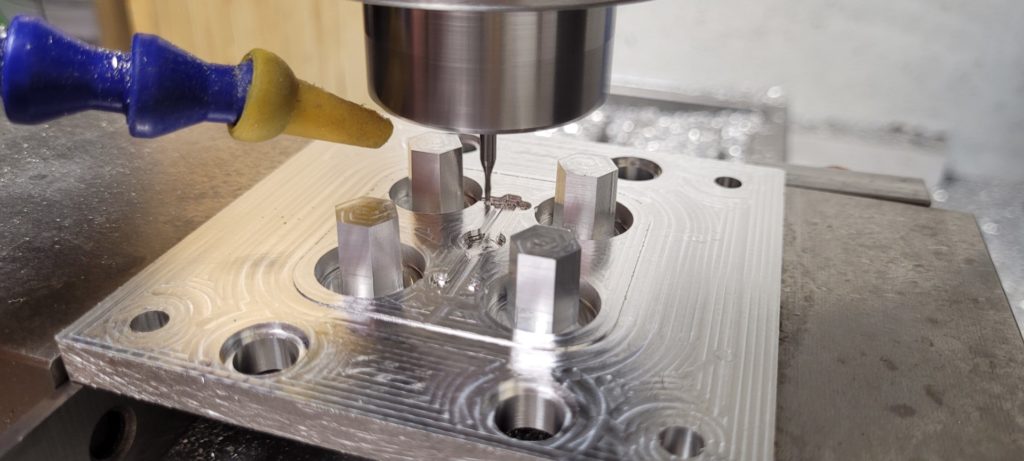
To make to CyberKAT super durable I injection molded nearly all of the plastic components in Delrin Acetal (only the lights are 3D printed). So I had to make 11 molds using my PM25-MV manual mill converted to CNC.
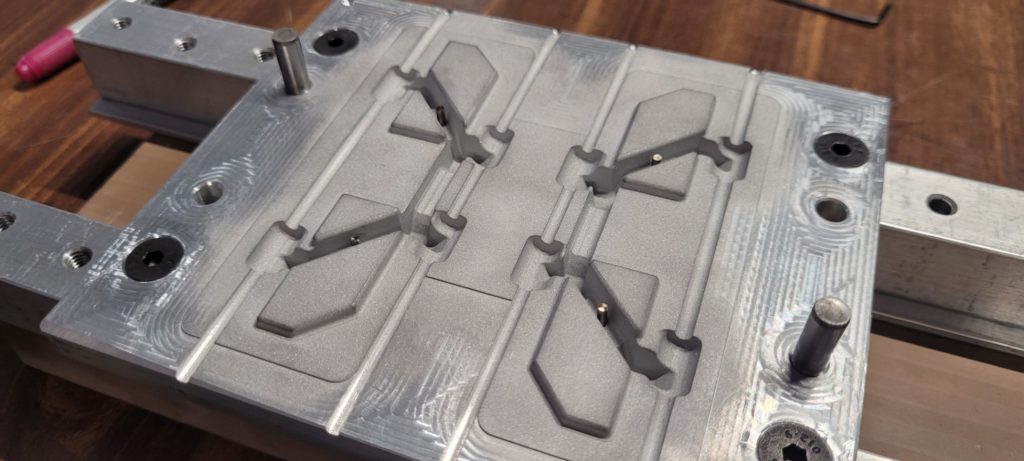
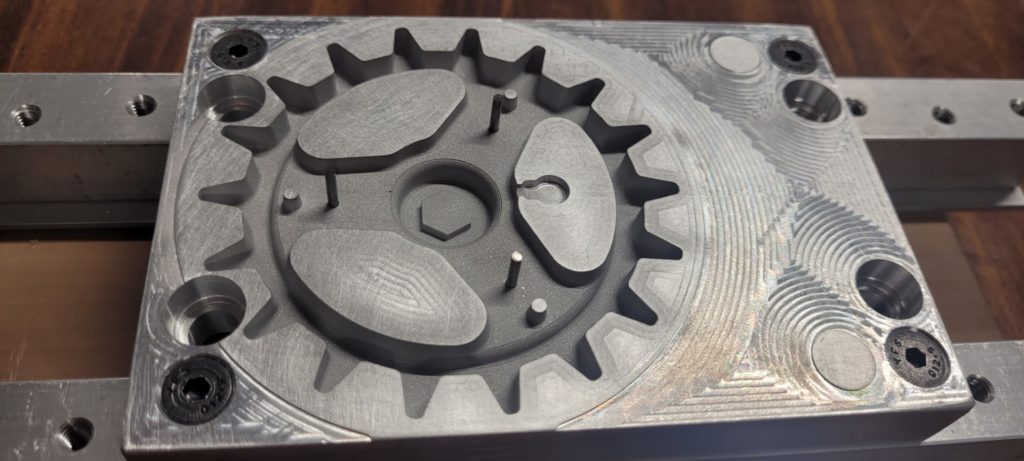
The track mold:
Testing out the ejector pins in my jig:
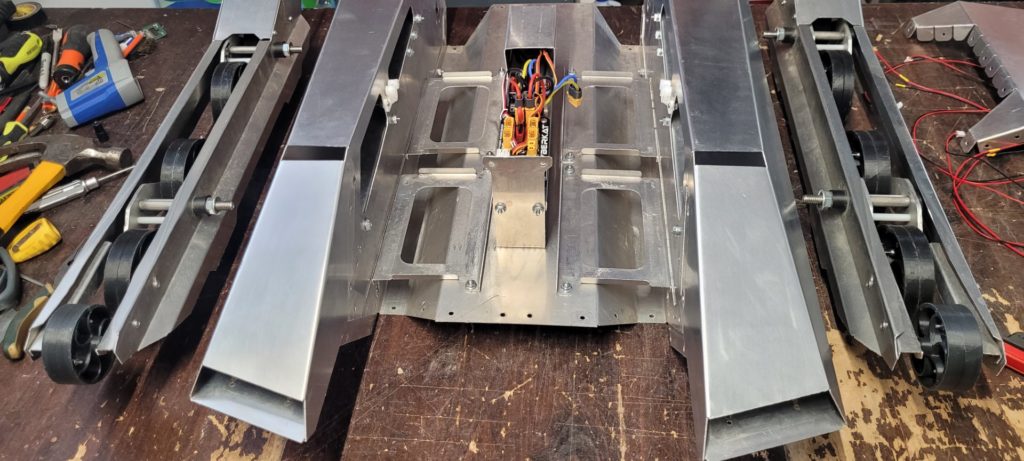
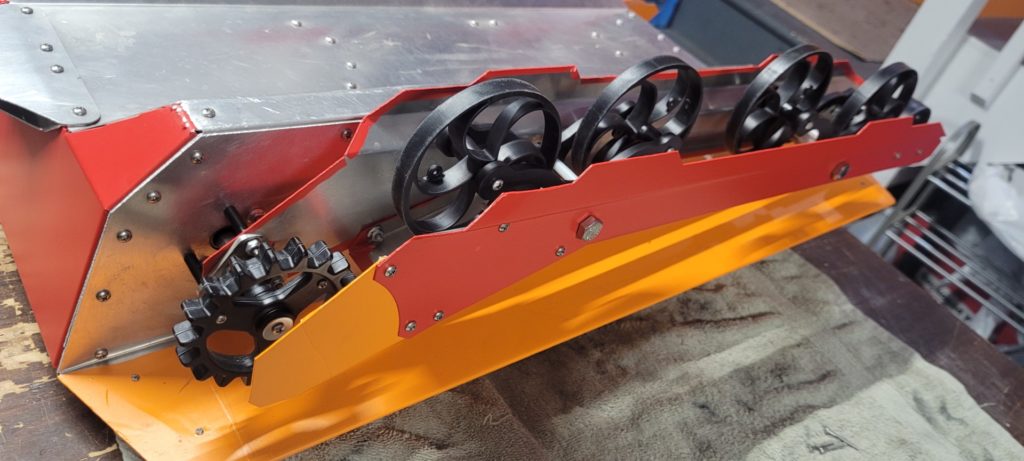
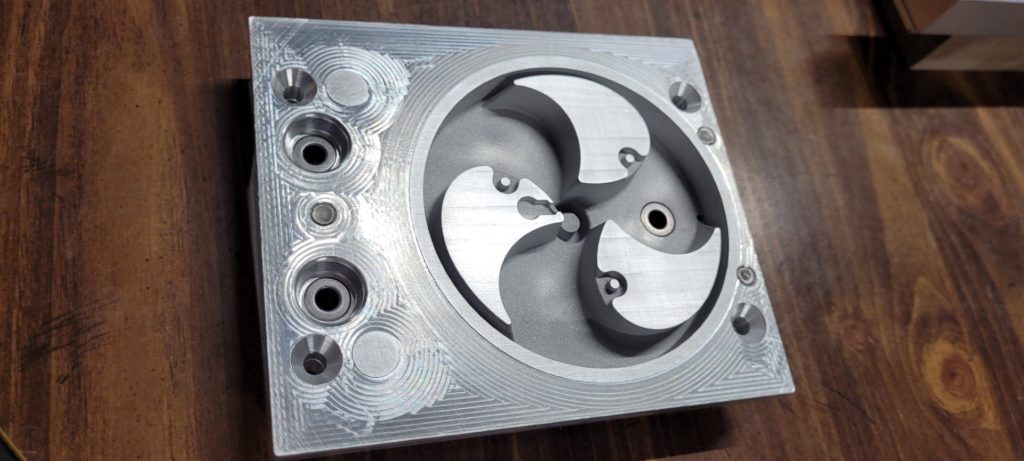
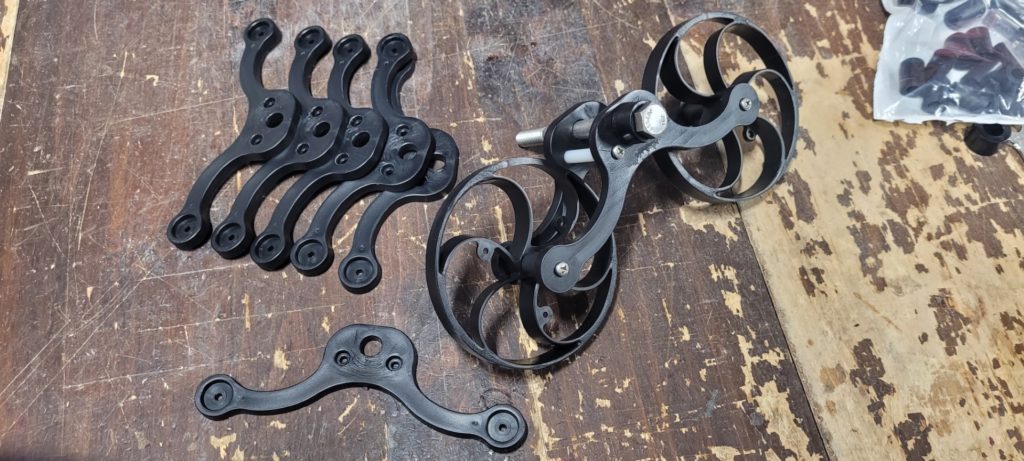
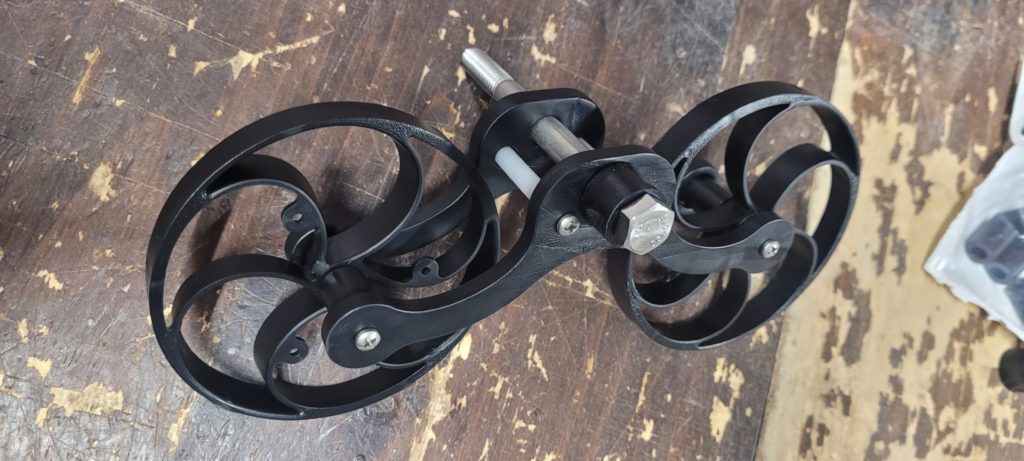
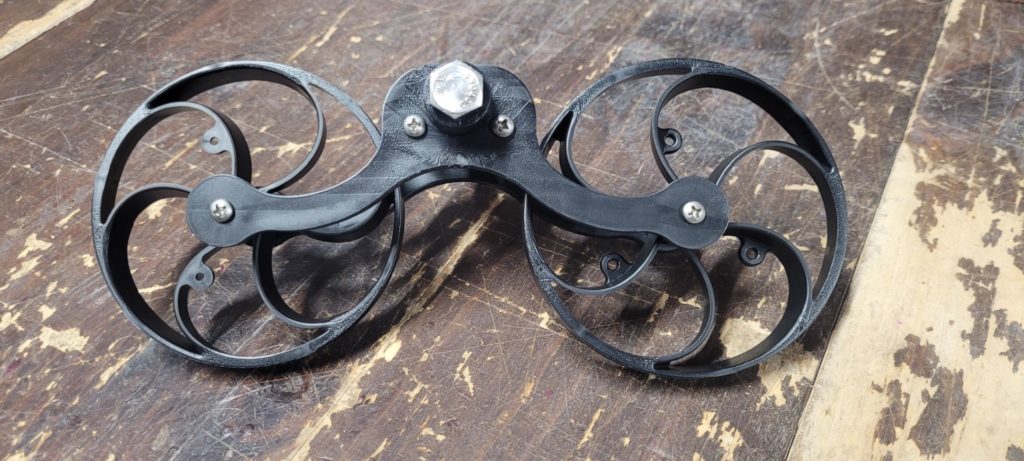
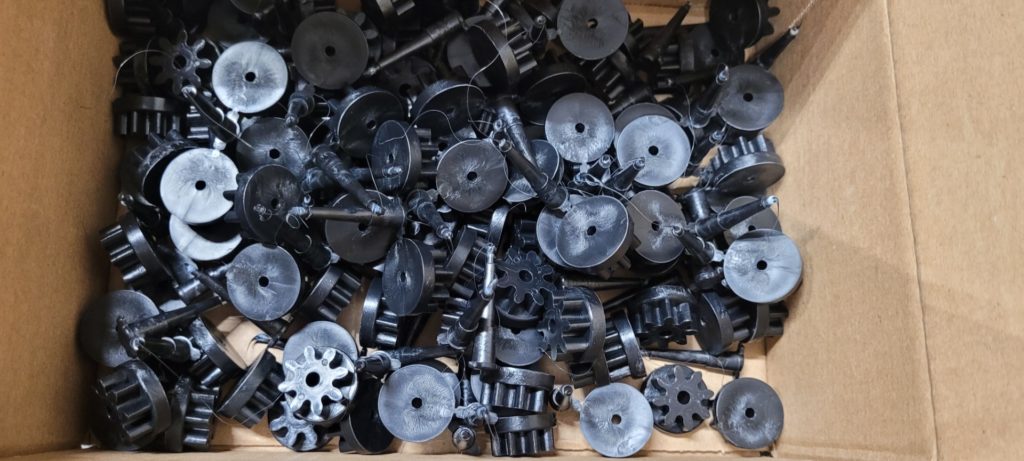
I came up with a special flexible suspension wheel to help give the CyberKAT some suspension, these act similar to leaf-springs:
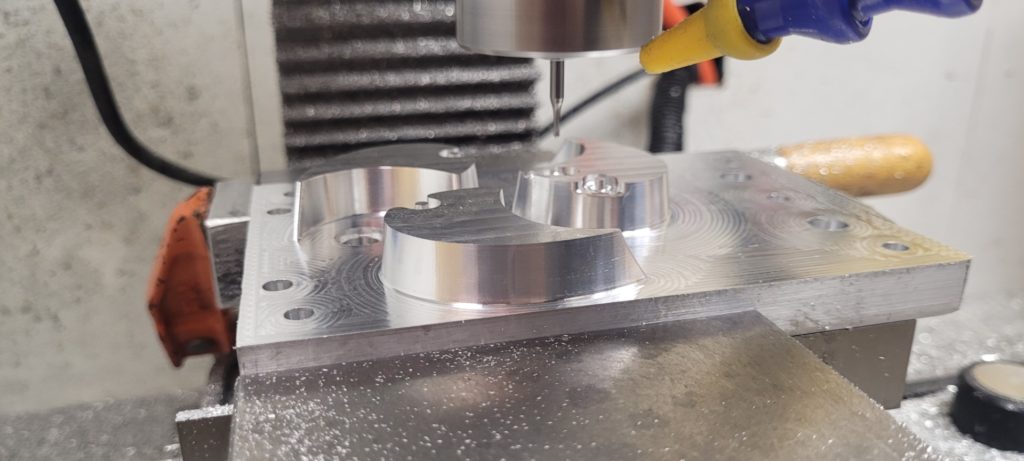
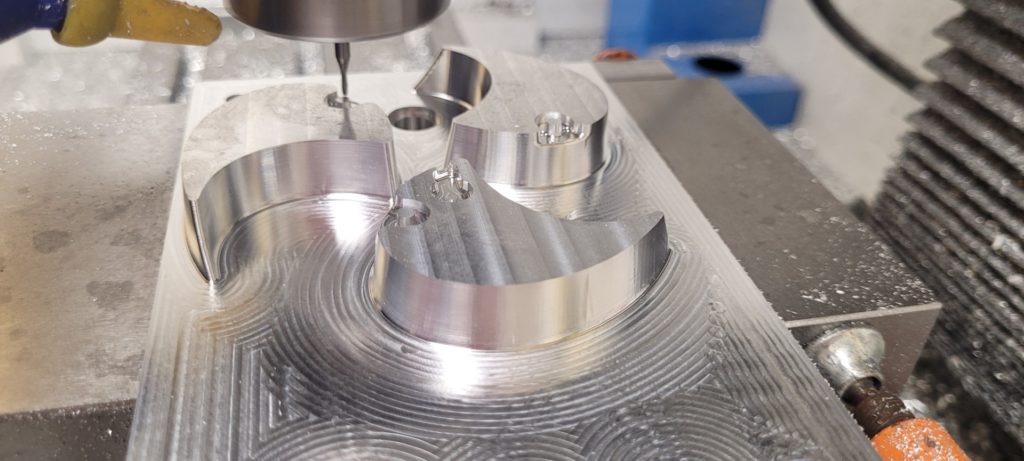
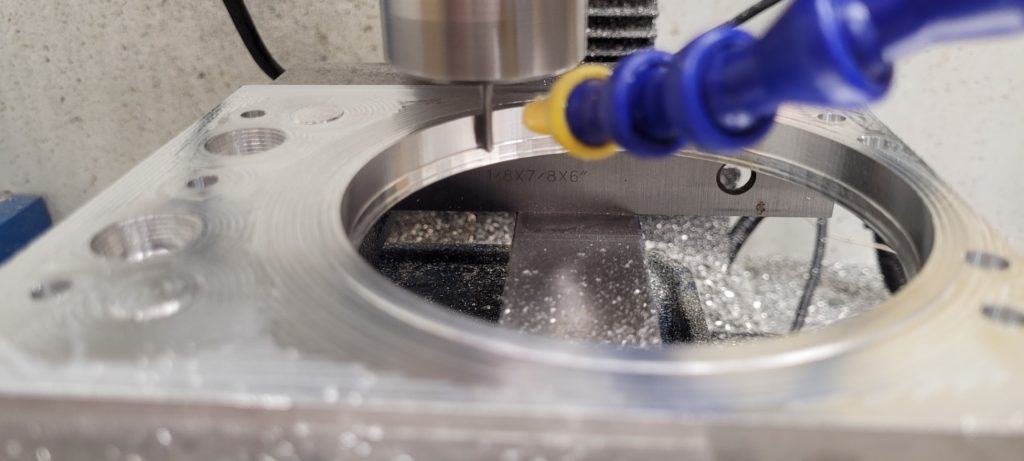
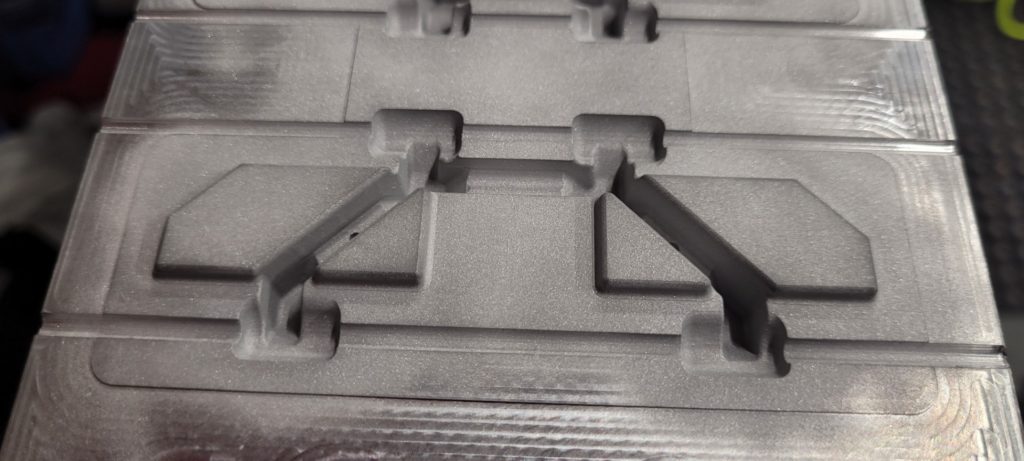
Because of the mold shape the wheel rim was too small to get a endmill in to machine the cavity out, so I had to do my first 3-part mold:
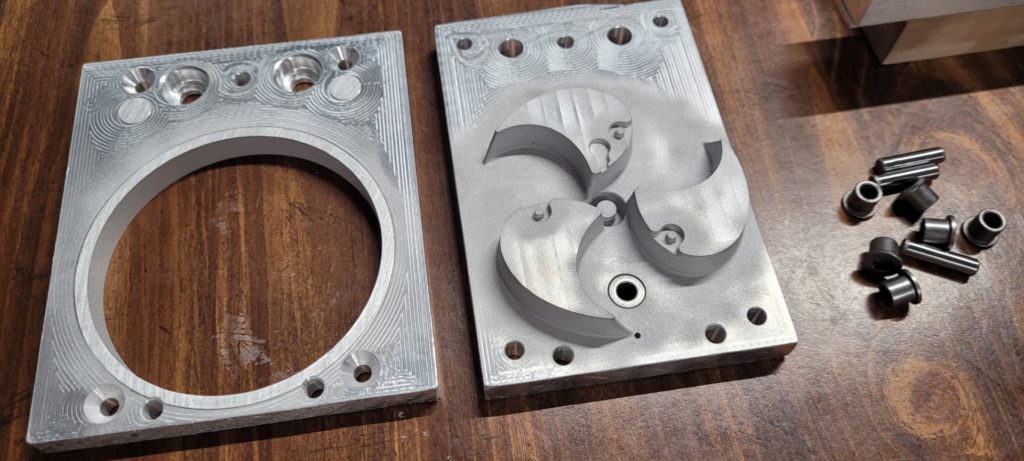
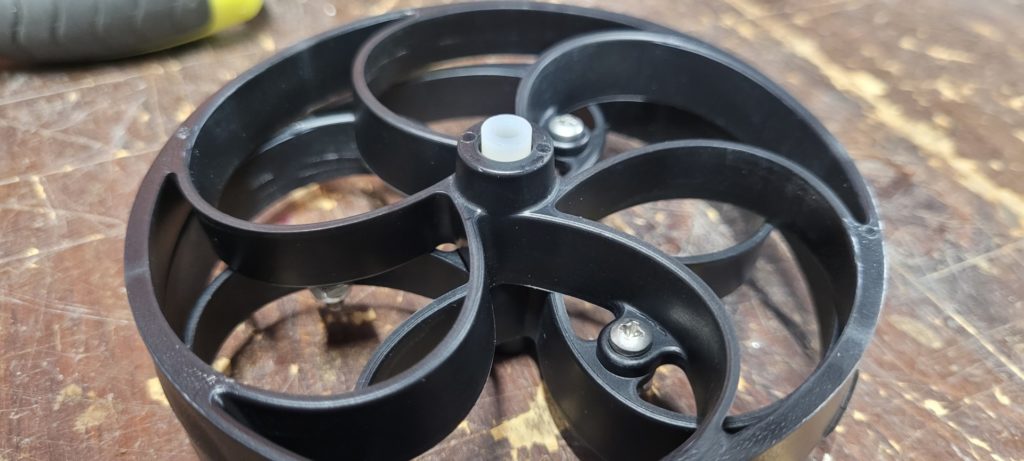
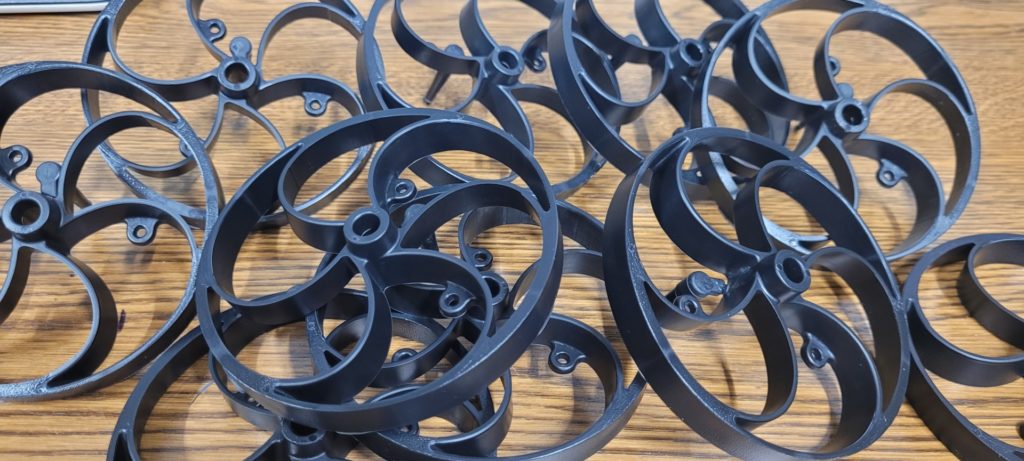
The suspension wheels can be setup as dual or singles. Dual provides a really stiff ride, and single has a lot more suspension:
Forward Idler Wheel:

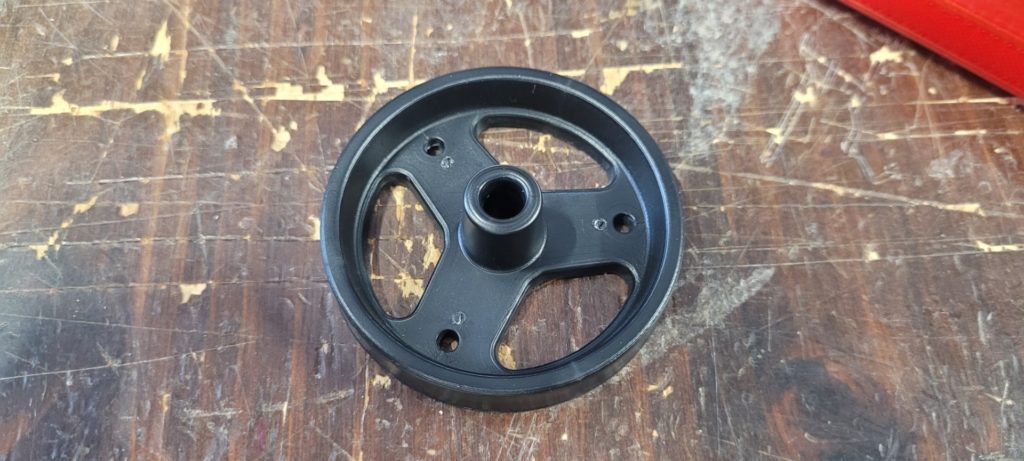
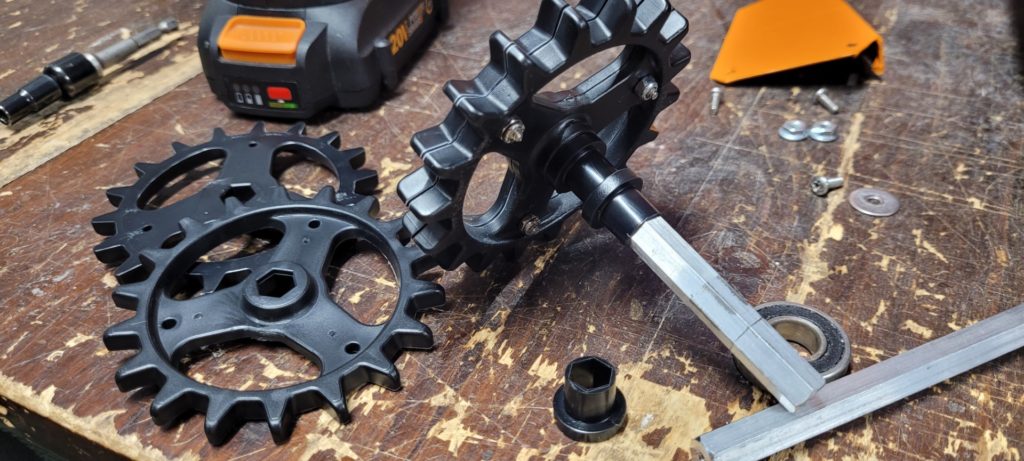
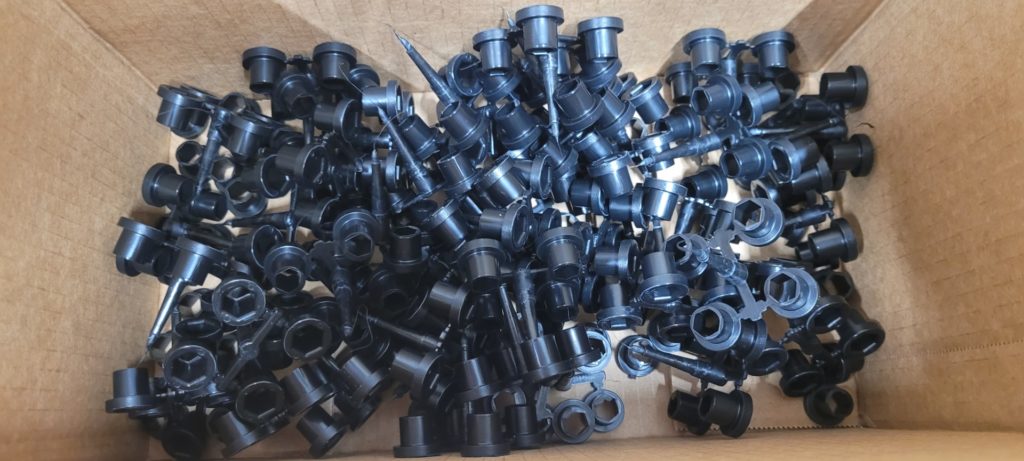
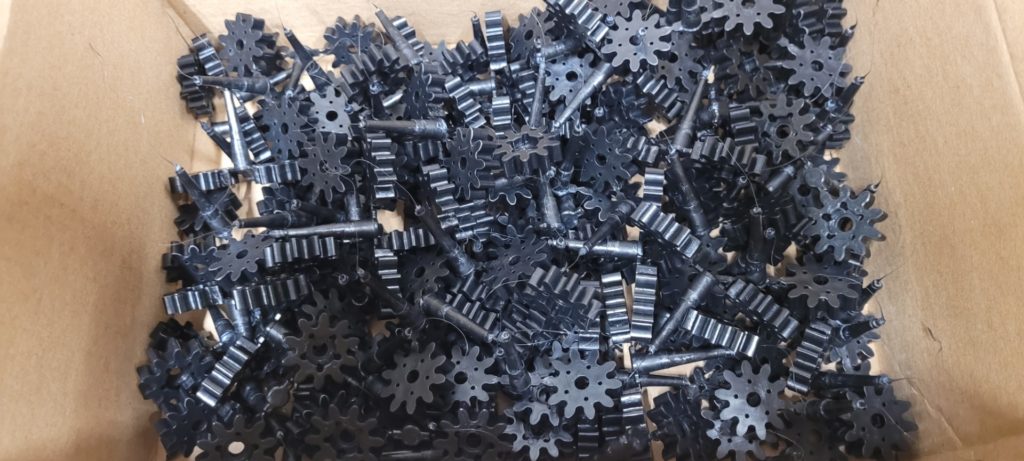
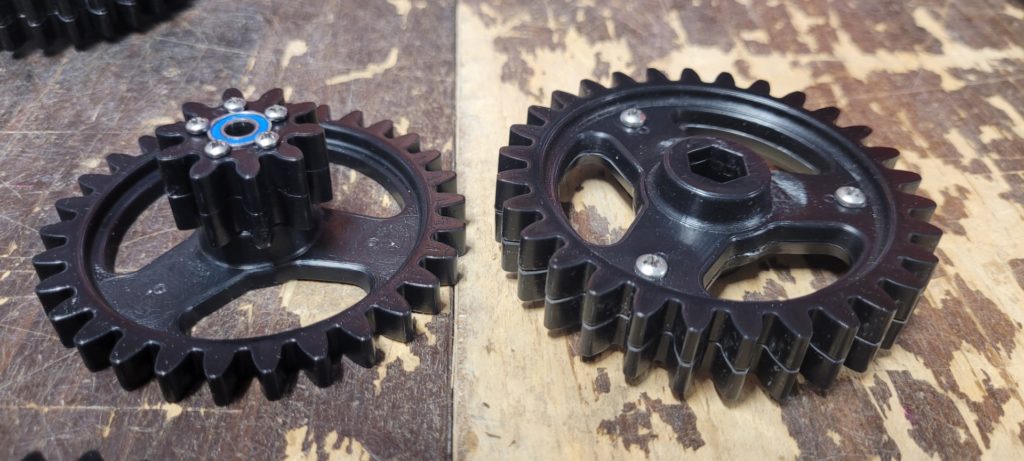
Sprocket:
Most of my parts were limited on my injection molding machines shot size of 30 grams. So this Sprocket had to be split into 2 halves and then screwed together:
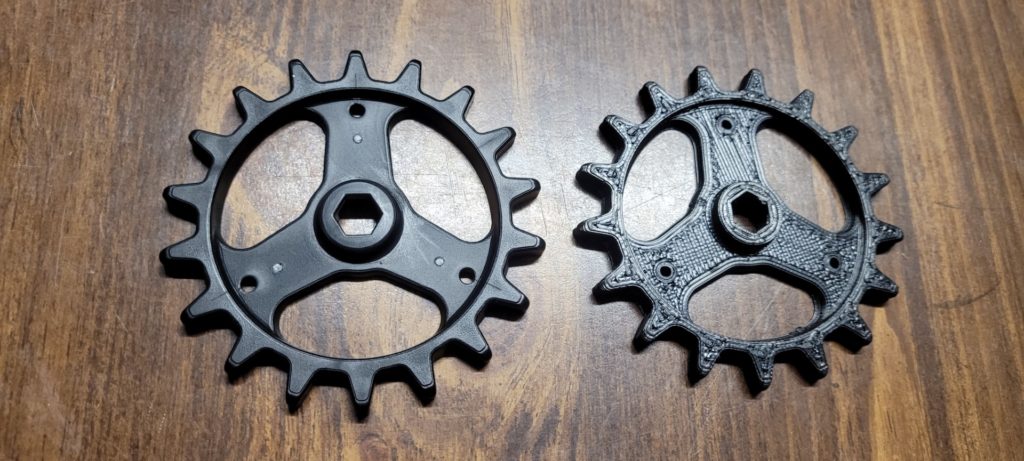
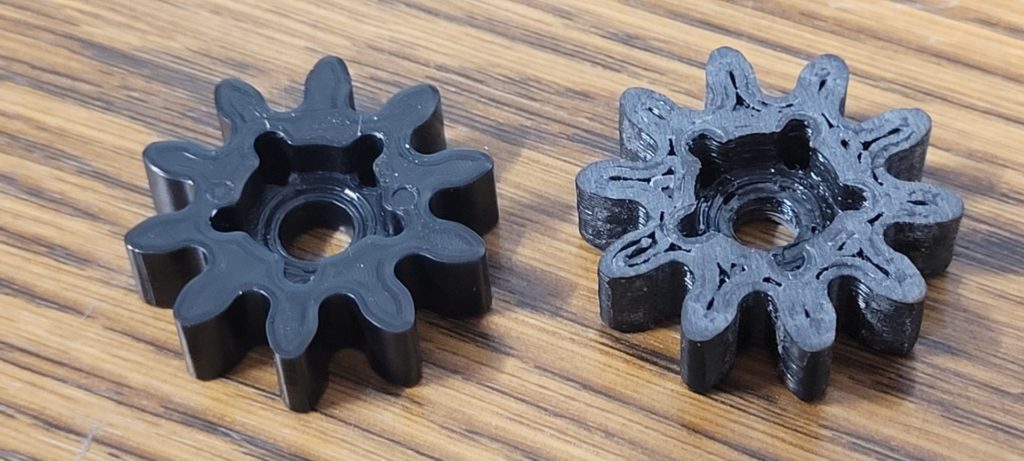
Injection molded Sprocket vs 3D printed prototype:
To give the CyberKAT just a little more suspension I came up with this design, acts like a REALLY stiff leaf-spring for hard impacts:
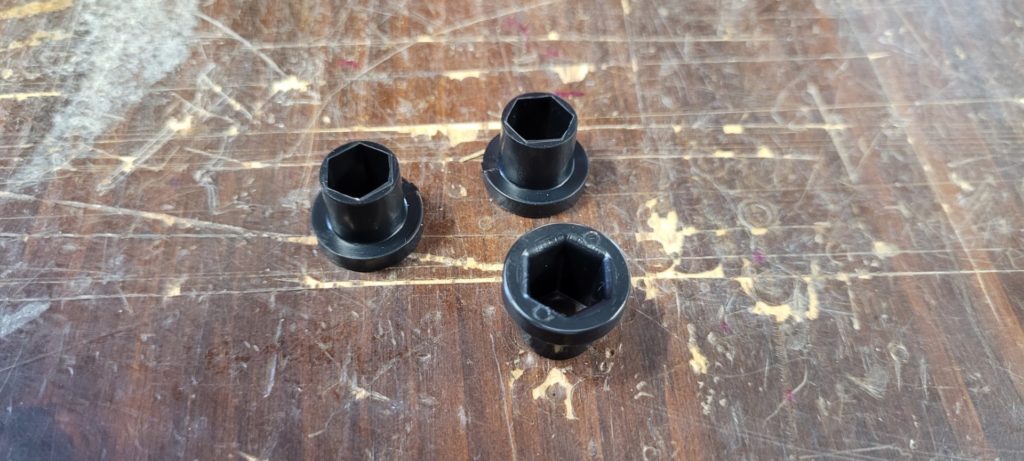
Had several small spacer molds to make:
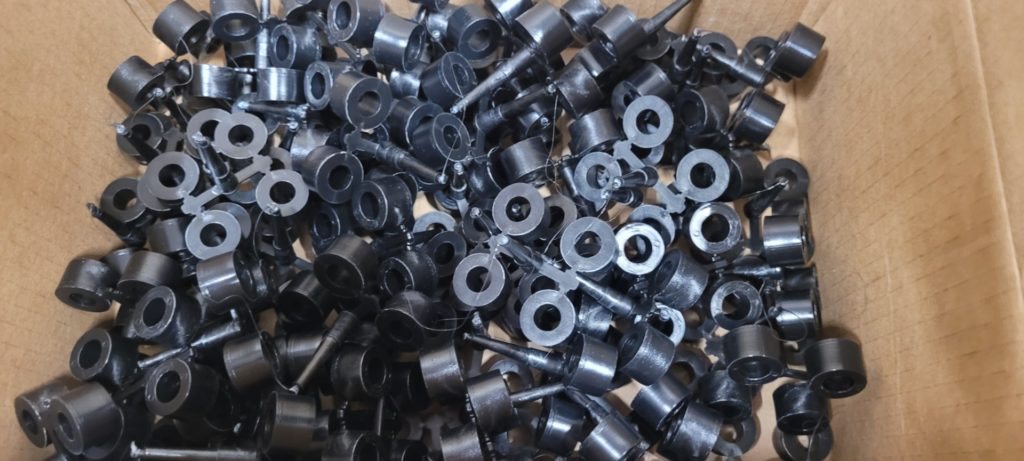
This hex spacer adapted from the hex driveshafts to bearings:
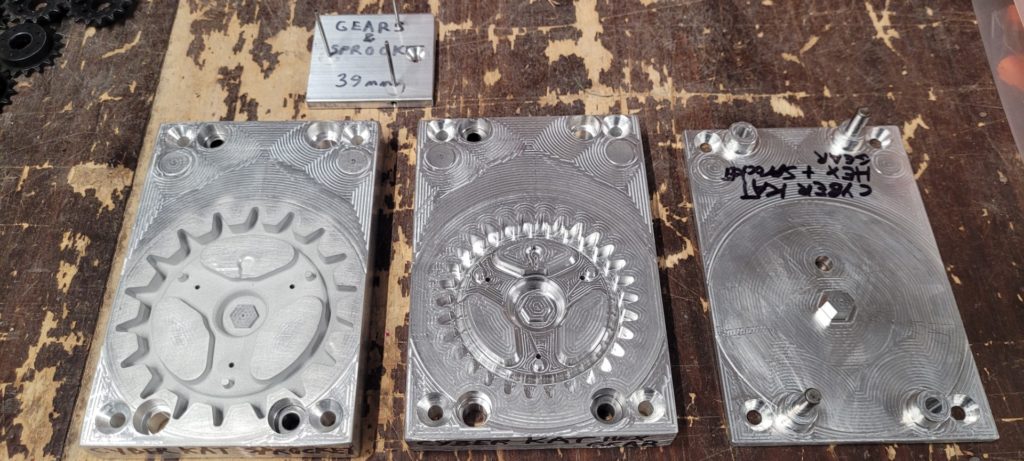
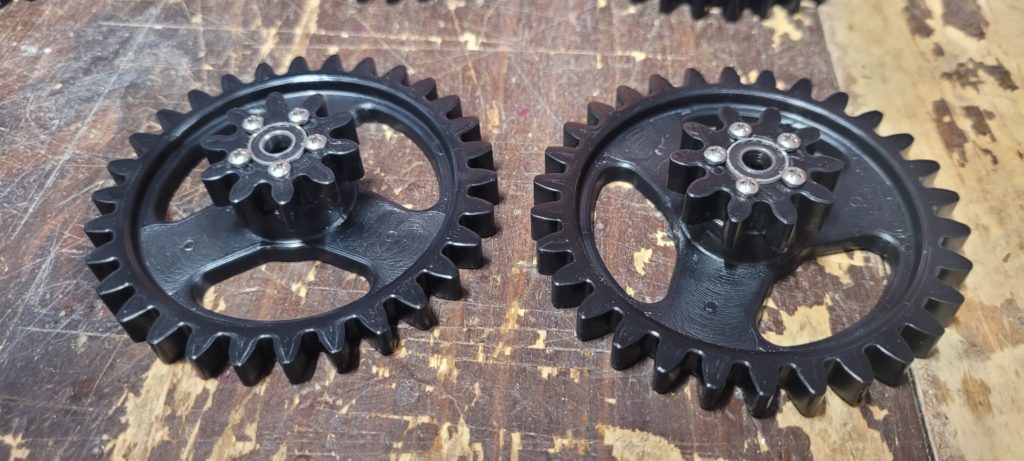
Pinion gear designed for bearings:

Motor gear (you can drill out to any motor shaft size)
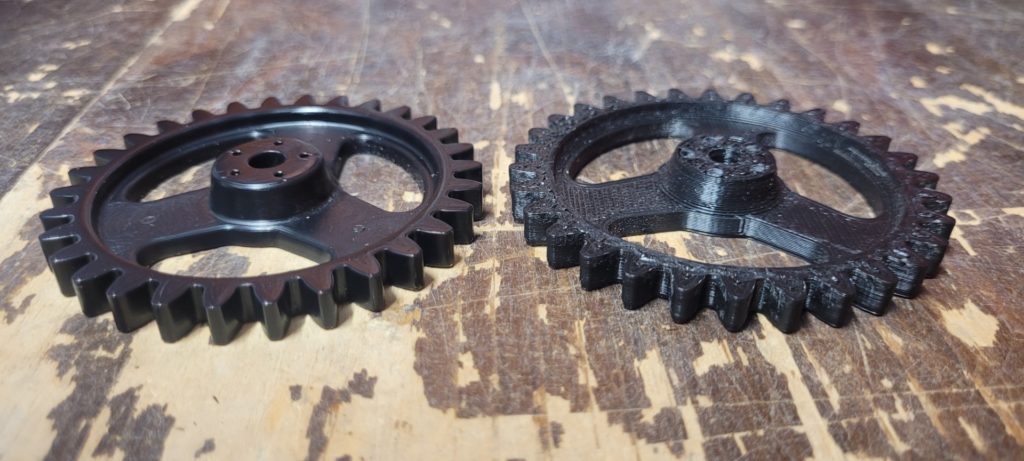
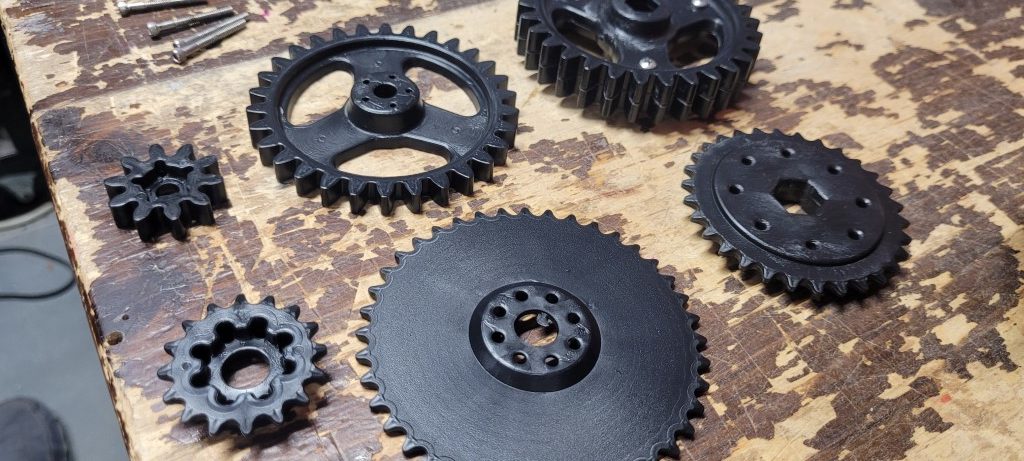
The sprocket and 2 different gear molds share similar molding components. For example the ejector pin plate is shared across 3 molds:
Injection molded vs 3D prototype:

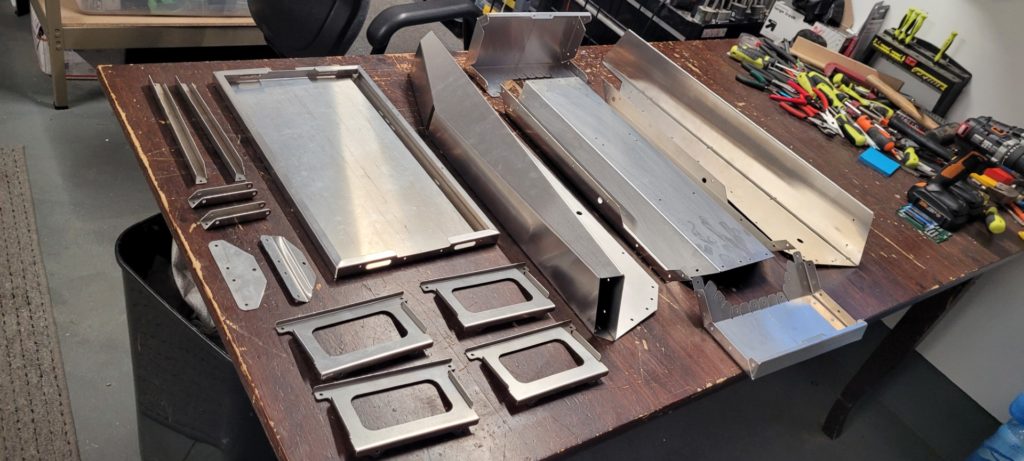
CyberKAT transmission parts sitting next to my 2X Spyker KAT transmission parts (which was chain driven):

![]()
Recent CyberKAT attention around the internet has somehow made people think the snow blower is already ready to go, when it is still very much in development. Currently the CyberKAT is its own stand-alone RC vehicle. Snow blower is coming within 1-2 months. No details on it yet exist!
With the CyberKAT nearly ready for production, and the CyBlower (new snow blower) under development! I have decided to stop selling nearly ALL of my existing products. Currently I will only be selling some hardware kits for the Spyker KAT/Blower 2X/1X. Spyker Workshop will be shifting focus entirely on the new CyberKAT.
Spyker Workshop was featured on Fox 9 News today! Check out the video and full article here, SO COOL!!! http://www.fox9.com/news/no-push-needed-st-paul-man-creates-remote-controlled-snowblower
Also shown on Kare11 News, INSANE!!!
Also recently featured on Minnesota Public Radio news here!!! SO SWEET!!! https://www.mprnews.org/story/2019/02/13/snowbot-remote-control-snowplow-invention-in-st-paul